
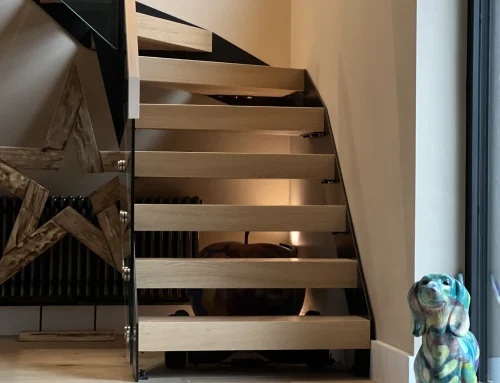
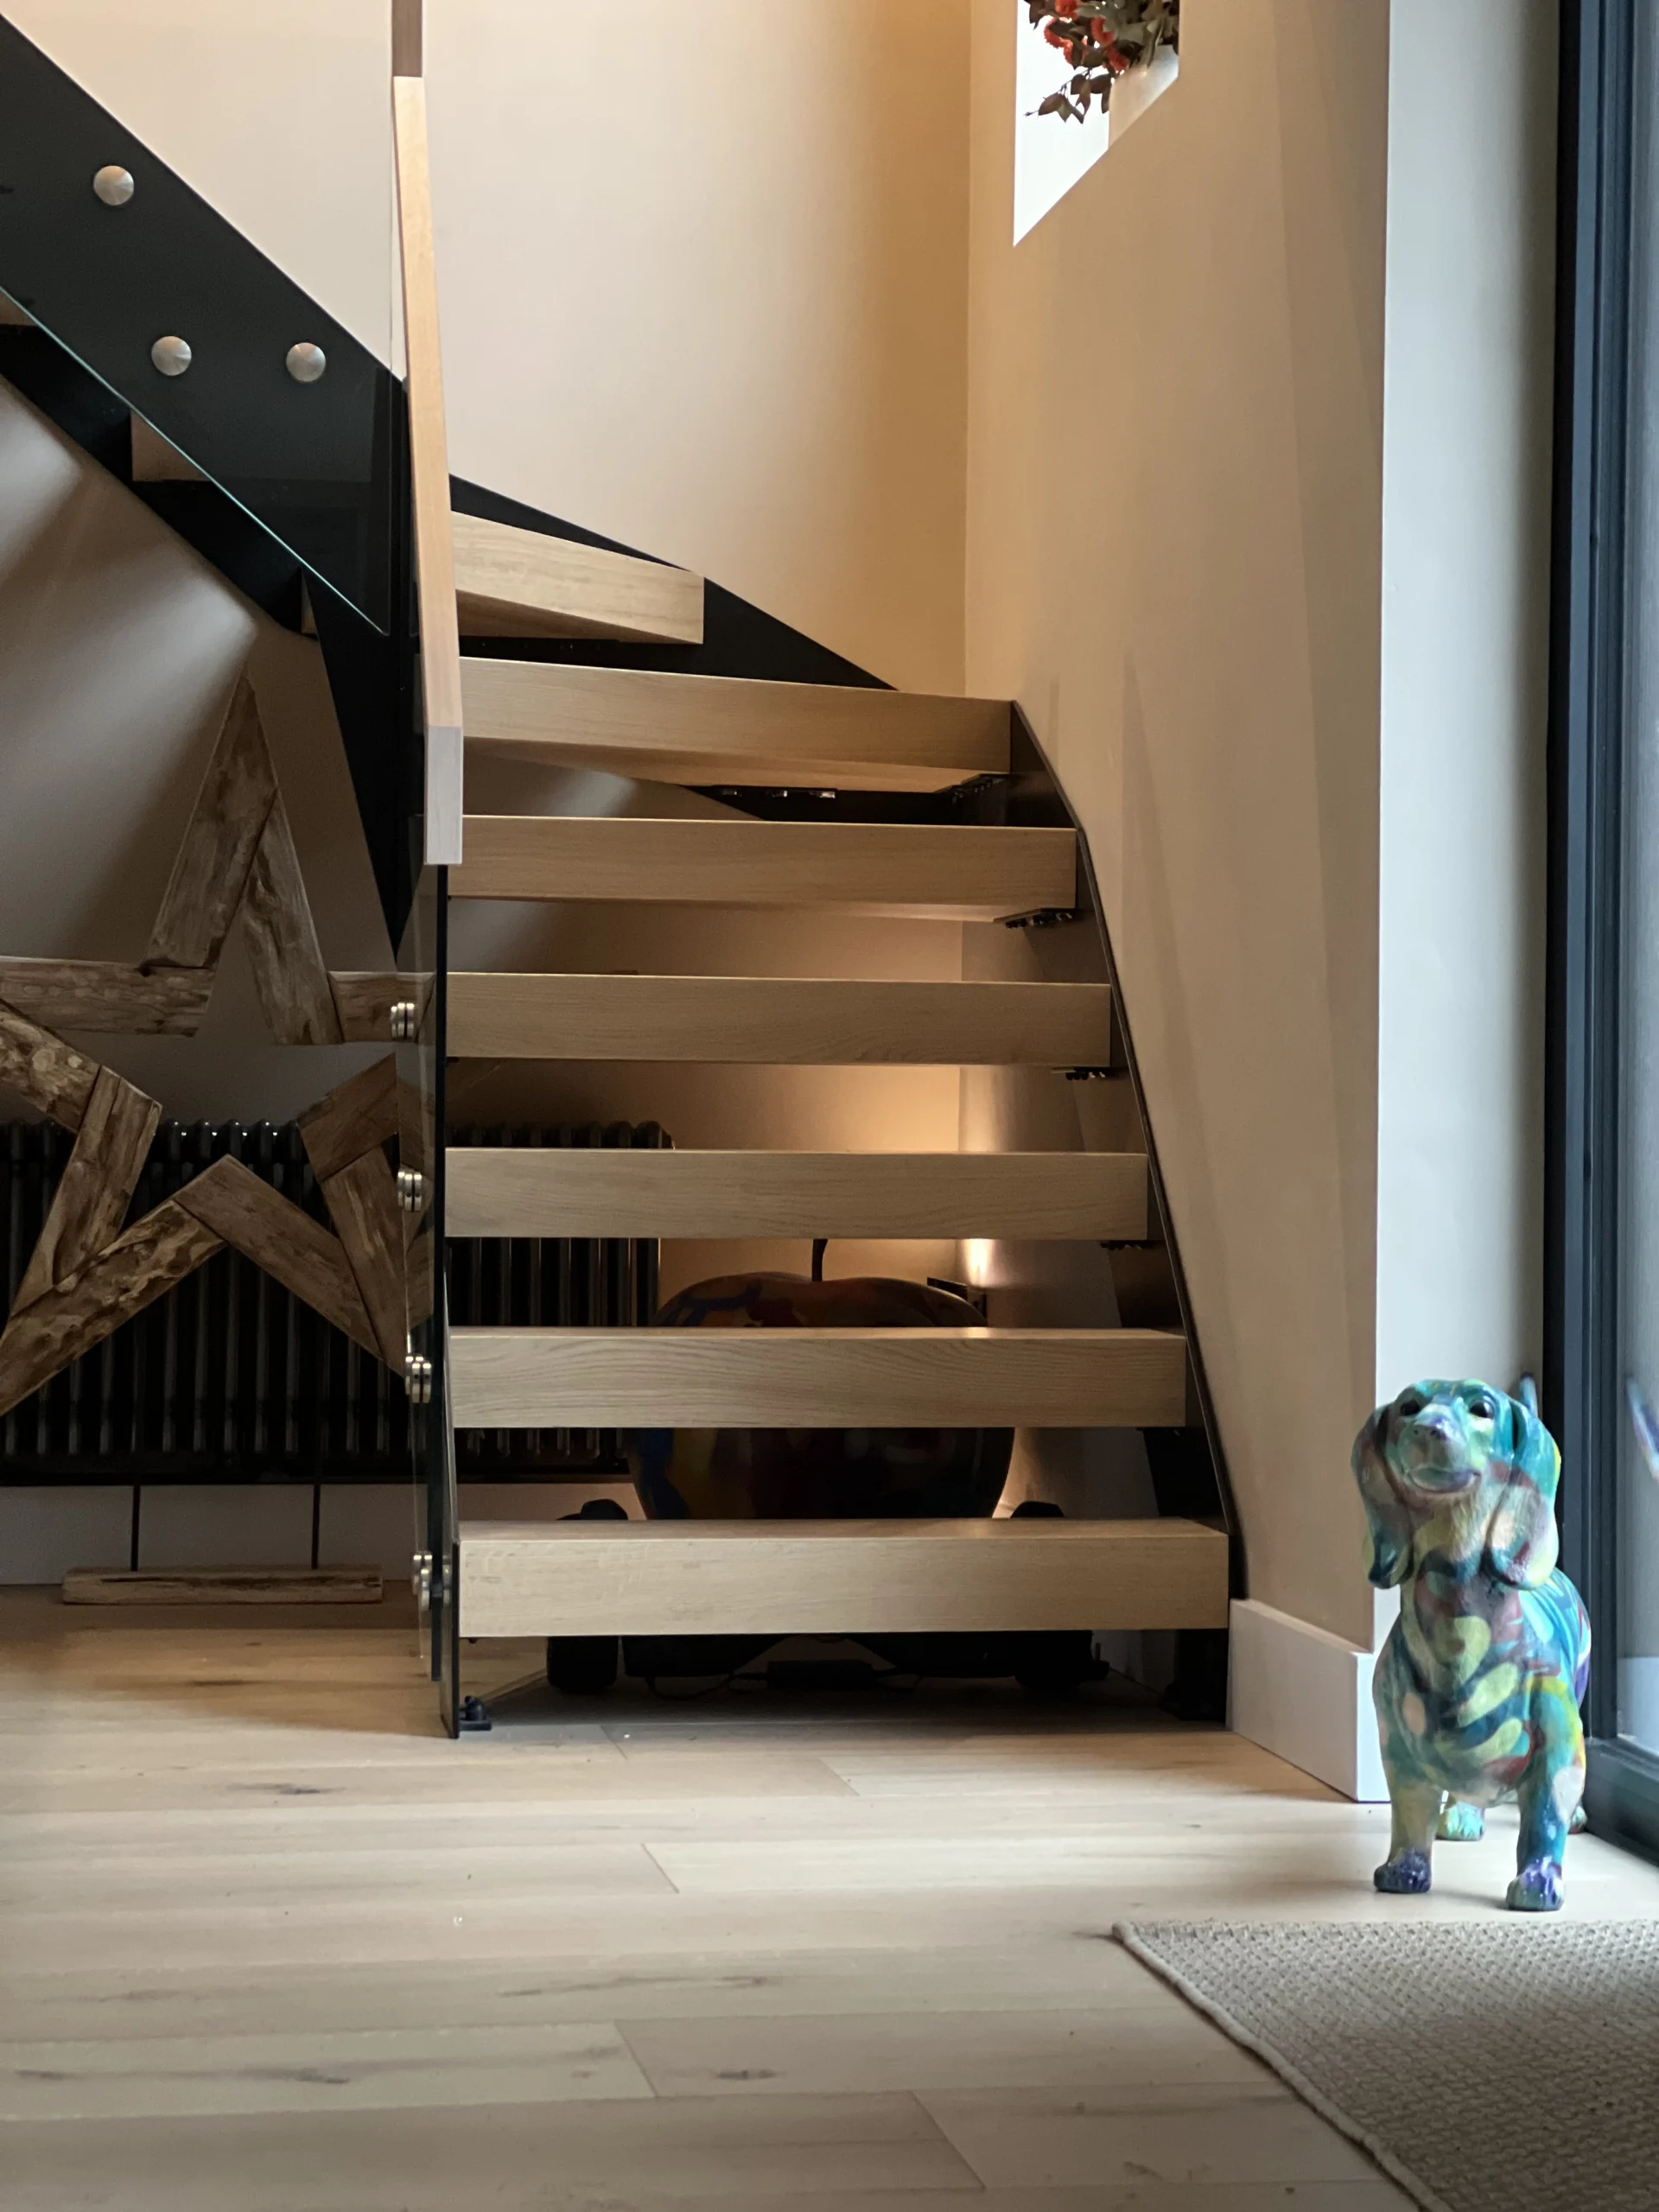
A floating staircase is the most technically demanding type of staircase to design and install correctly — and the most expensive to put right if something goes wrong. The mistakes that cause the most problems are rarely obvious at the design stage: they are structural, dimensional or compliance issues that only become apparent during installation, at Building Control inspection, or when the staircase has been in use for a year. This guide covers the seven mistakes that Continox most commonly encounters when assessing projects that have been poorly planned elsewhere — and how to avoid every one of them.
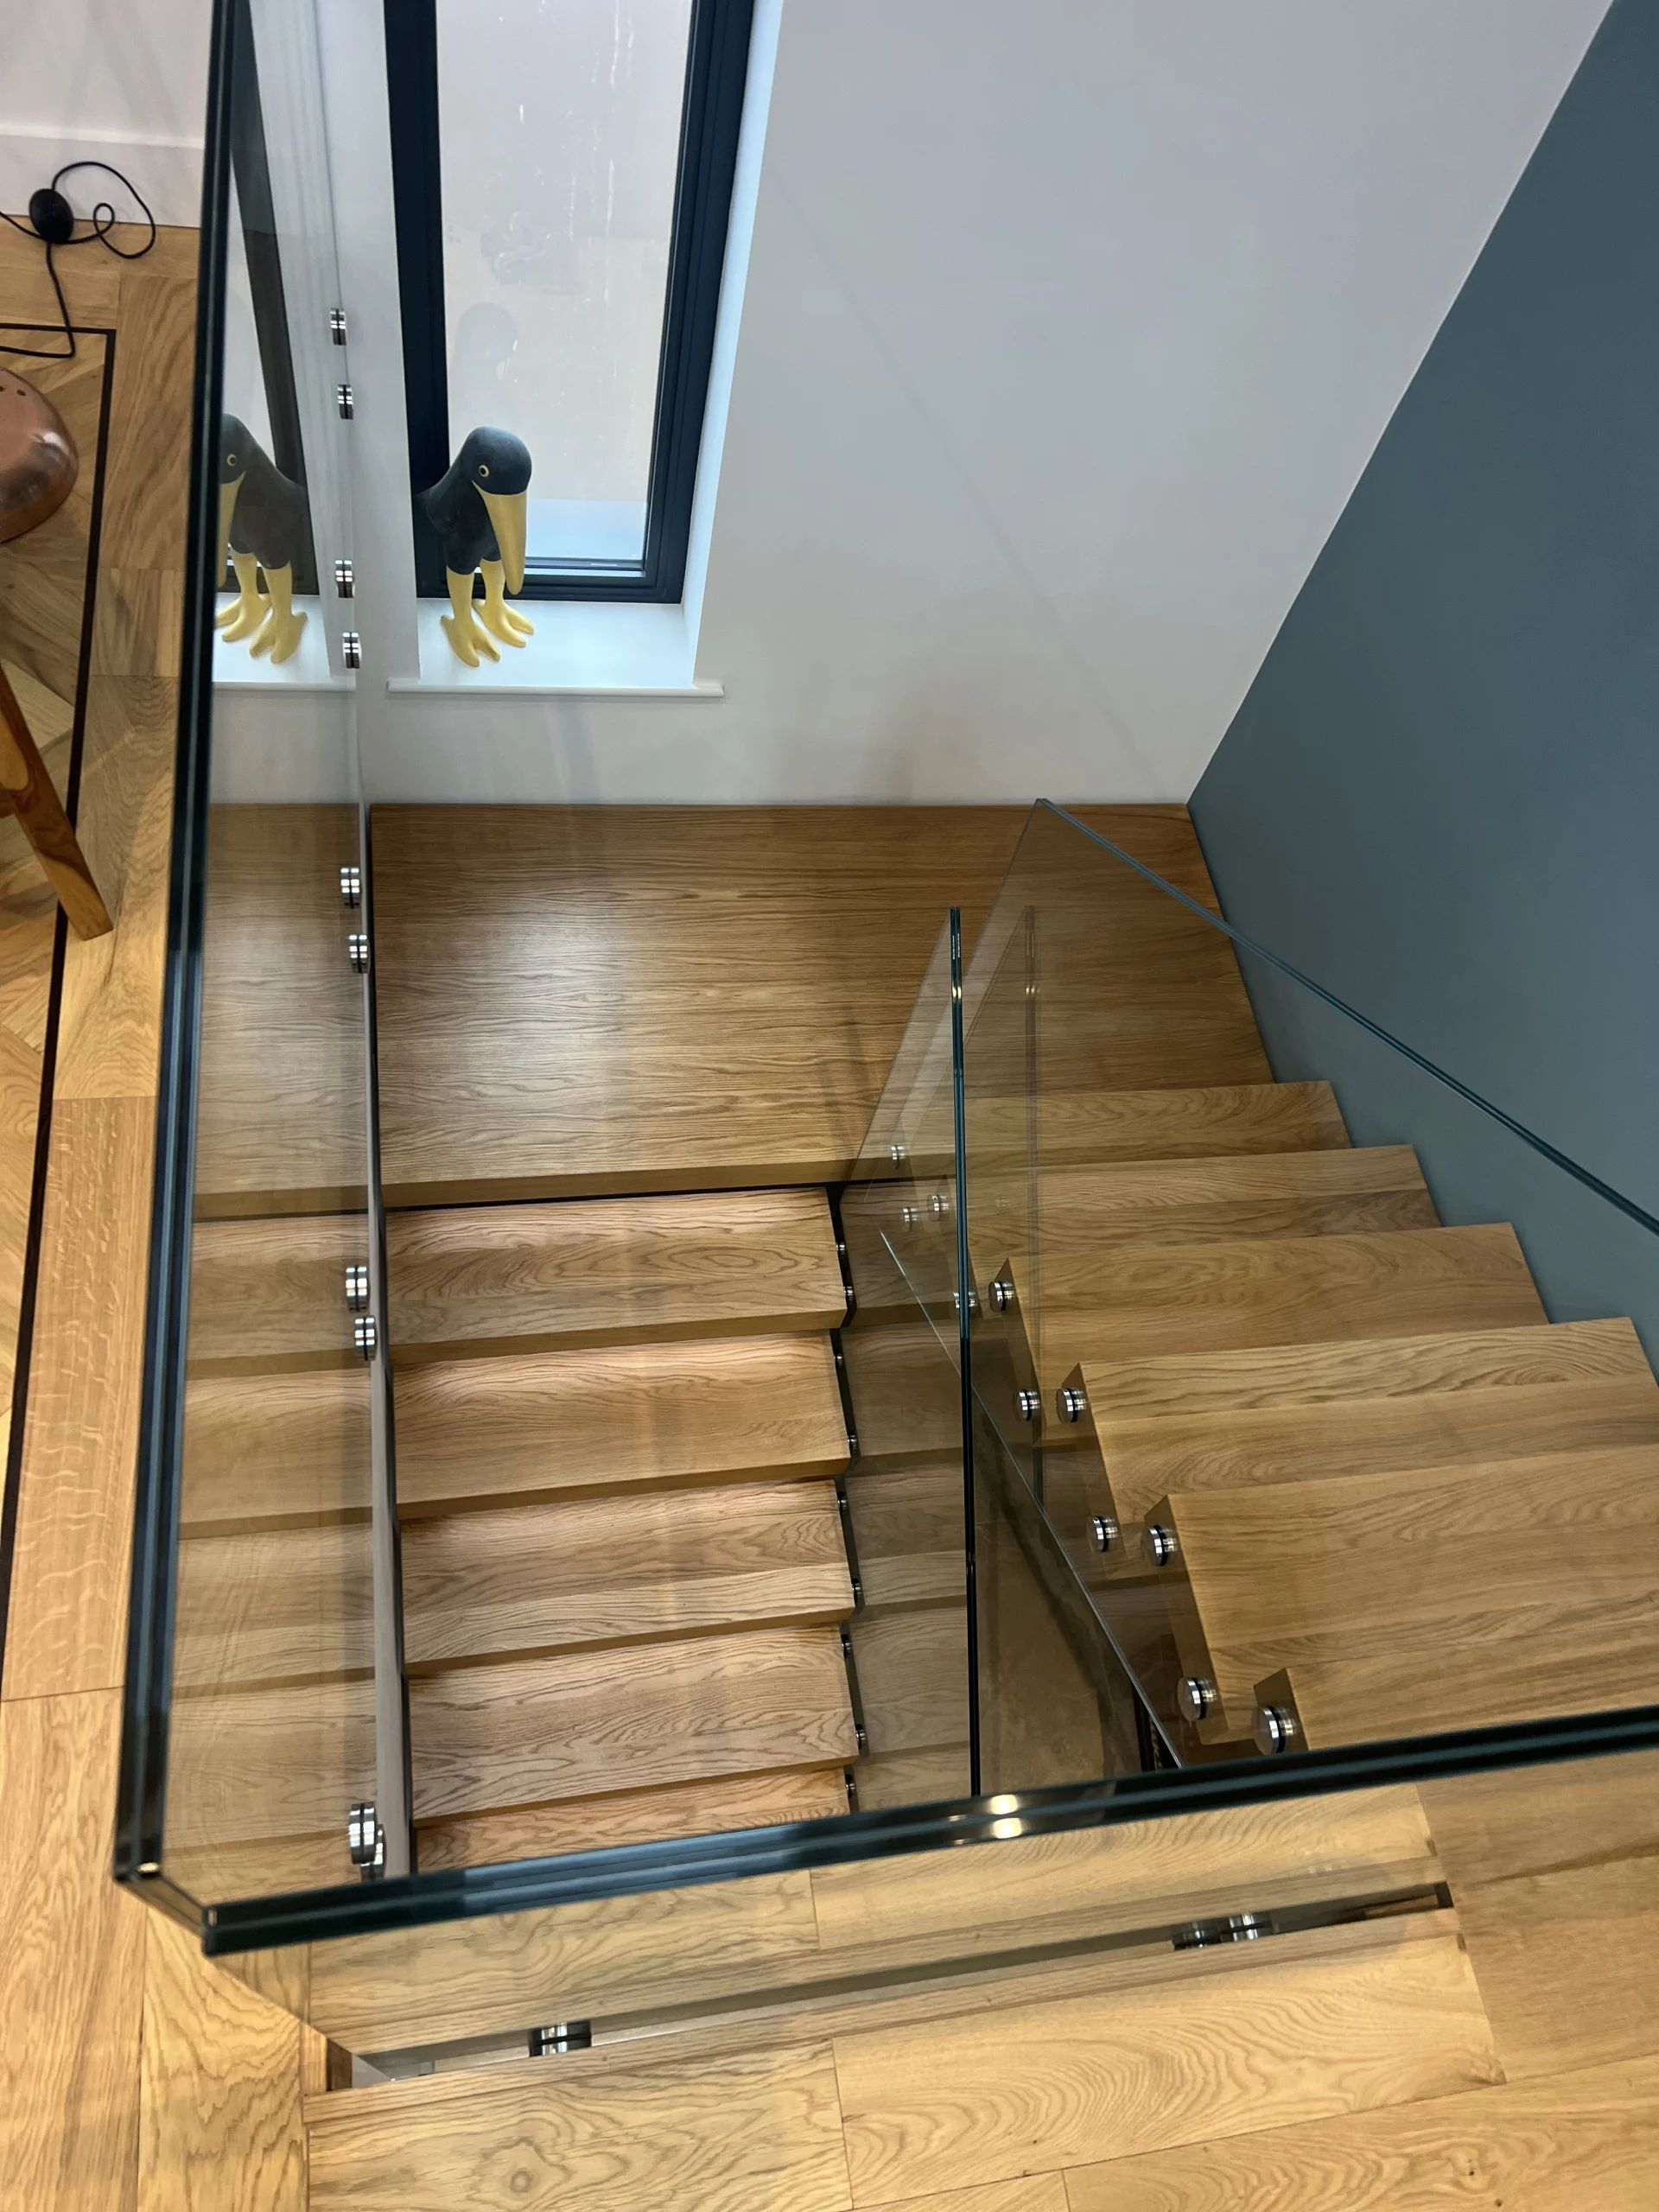
Correctly designed and installed floating staircase by Continox — wall substrate assessed, Part K compliant, structural calculations provided. From £7,900.
7 Floating Staircase Design Mistakes & How to Avoid Them
Each of the following mistakes is drawn from real projects — enquiries Continox has received where a previous designer, supplier or installer had created a problem that needed to be resolved before the staircase could proceed. In every case, the mistake was avoidable with the right approach at the right stage.
Not Verifying the Wall Substrate Before Design
Why it happens
A floating staircase with wall-fixed cantilevered treads transfers all structural loads into the supporting wall — typically 1.5–2.0 kN per tread under Part K residential loading. This requires a wall of adequate structural capacity: solid masonry, reinforced concrete or a structural steel beam within a stud wall. Many UK homes have internal stud walls — timber or metal frame with plasterboard — that cannot accept these loads. Designers who work from floor plans alone, without visiting the site, routinely miss this. The result is a staircase design that cannot be installed as drawn without significant structural intervention.
How to avoid it
Always carry out a physical site survey before finalising the design. The installer must inspect the wall construction, identify the structural elements (studs, noggins, masonry behind plasterboard) and confirm that the proposed fixing positions have adequate load-bearing capacity. Where the wall is inadequate, the options are: a structural steel frame within the wall, a twin-stringer design that transfers loads to floor structure at top and bottom, or a central spine design. All are achievable — but must be identified before design, not after fabrication.
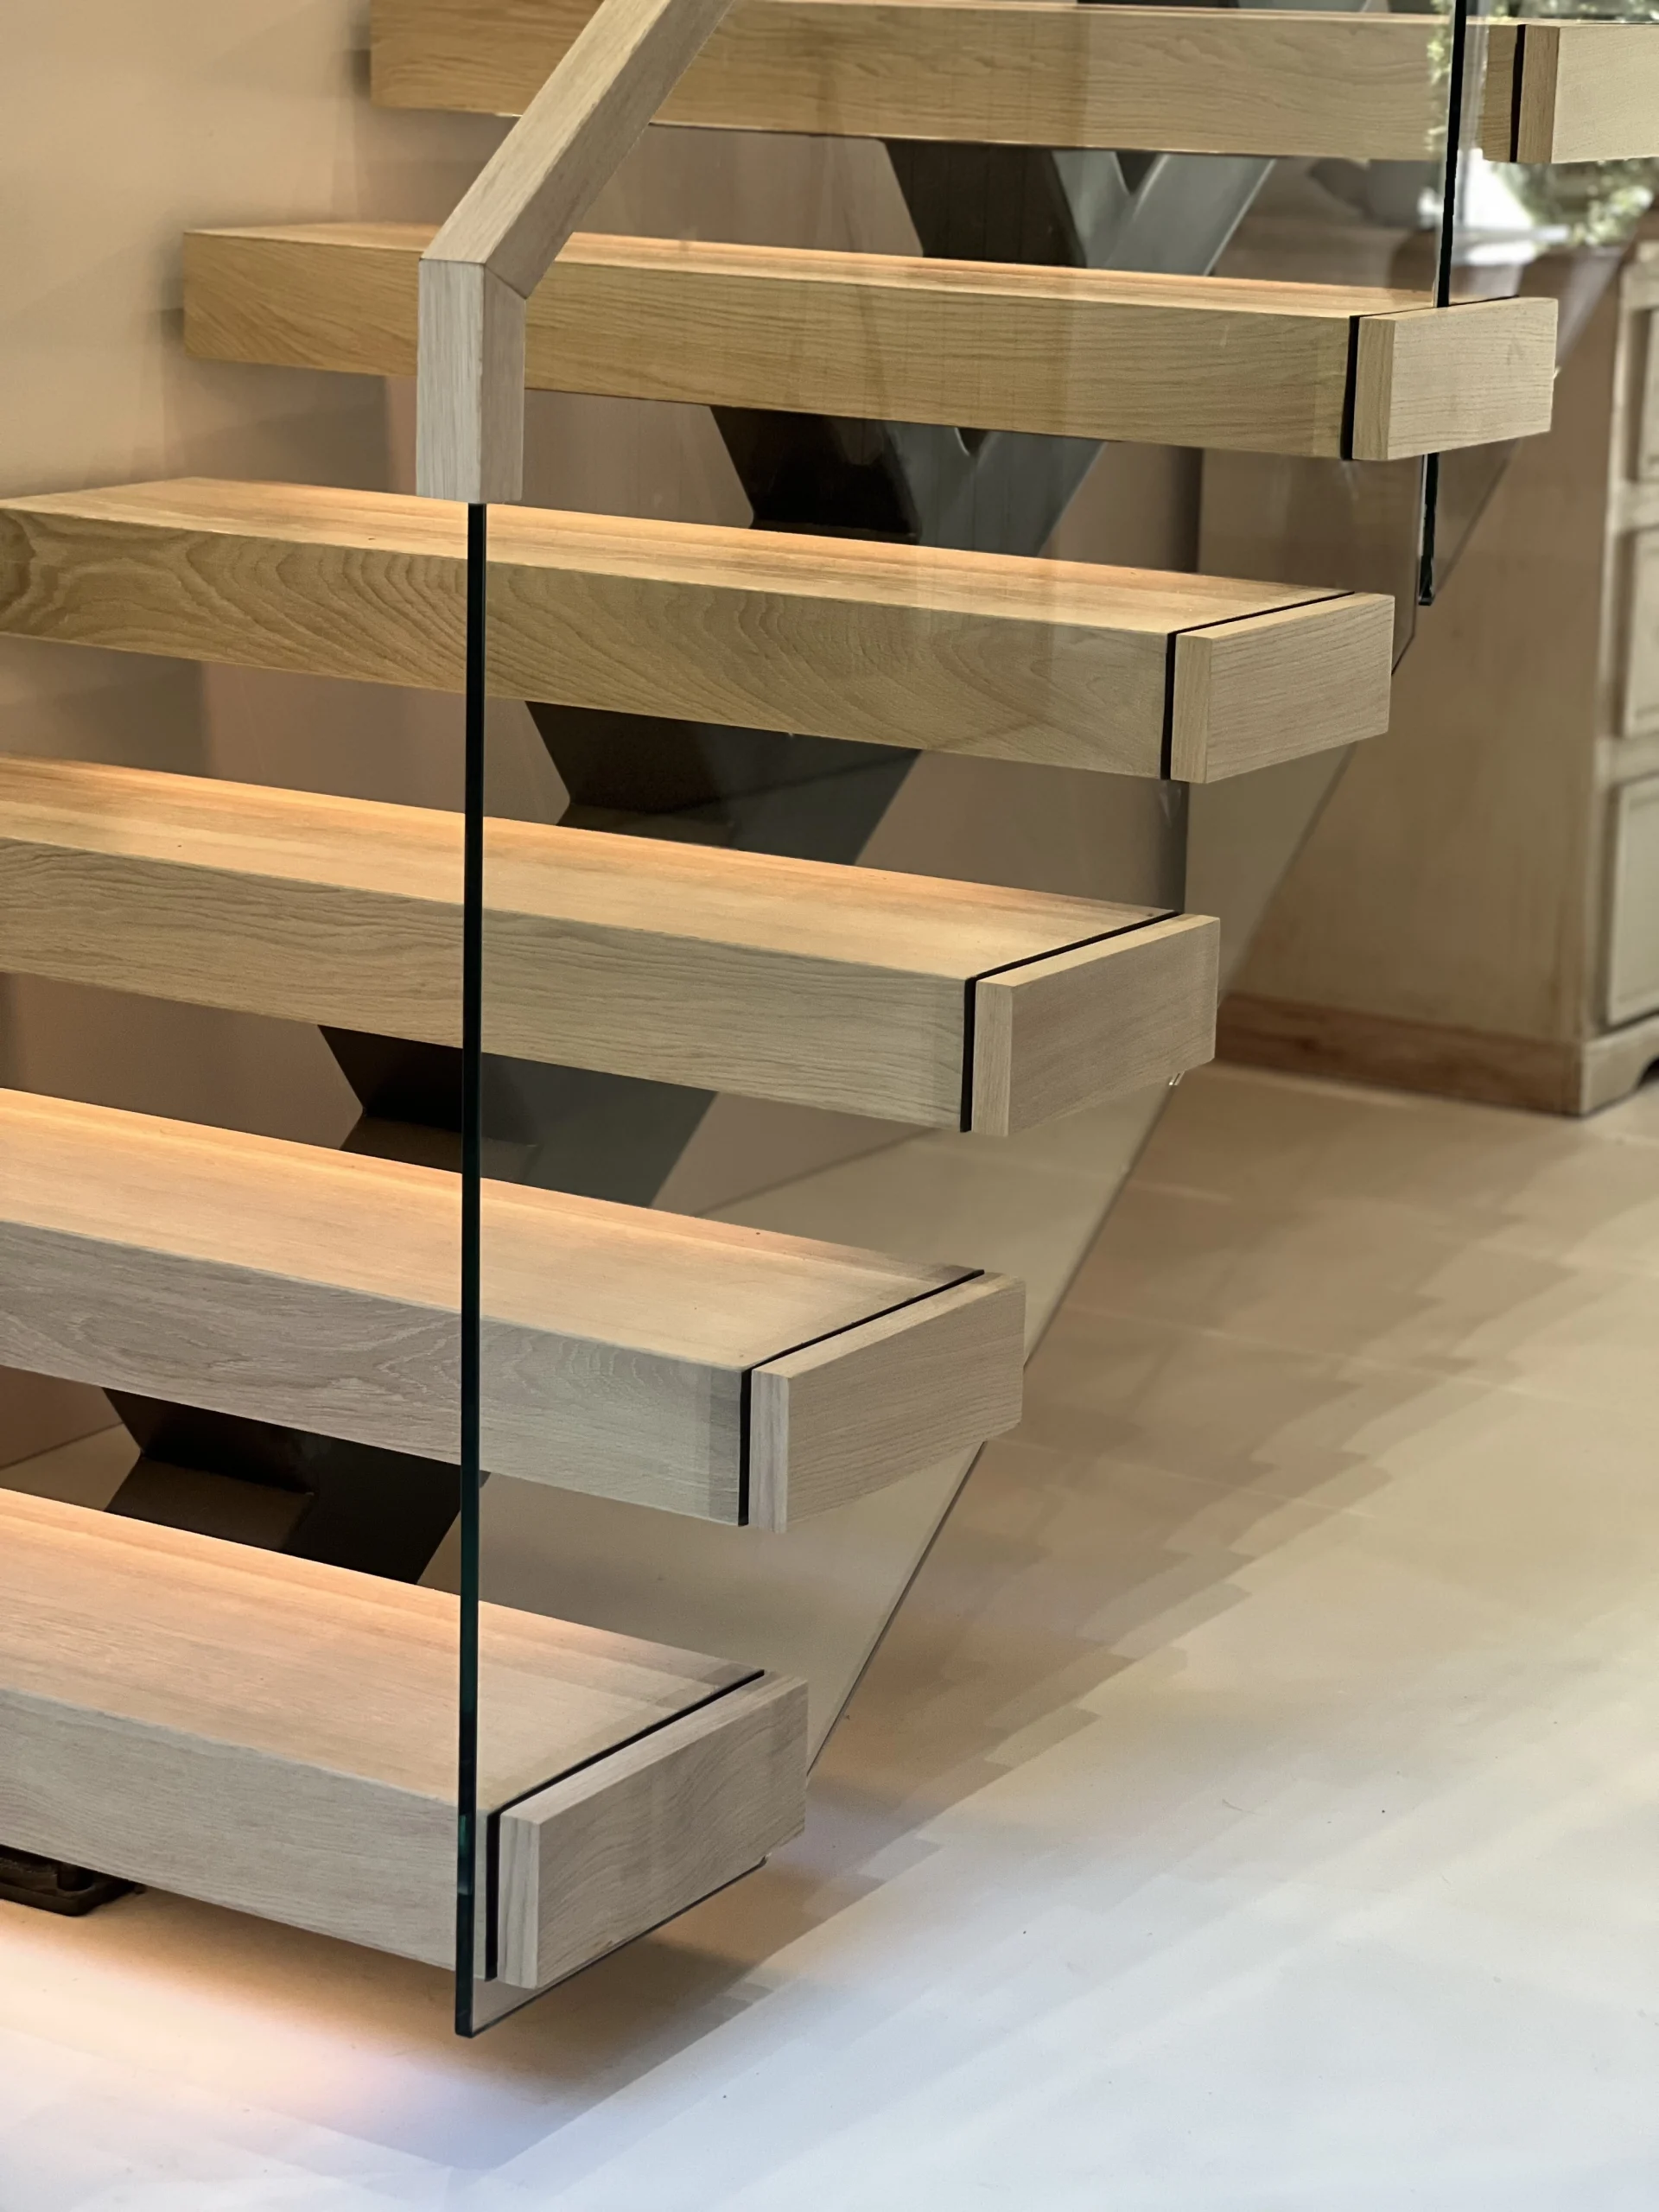
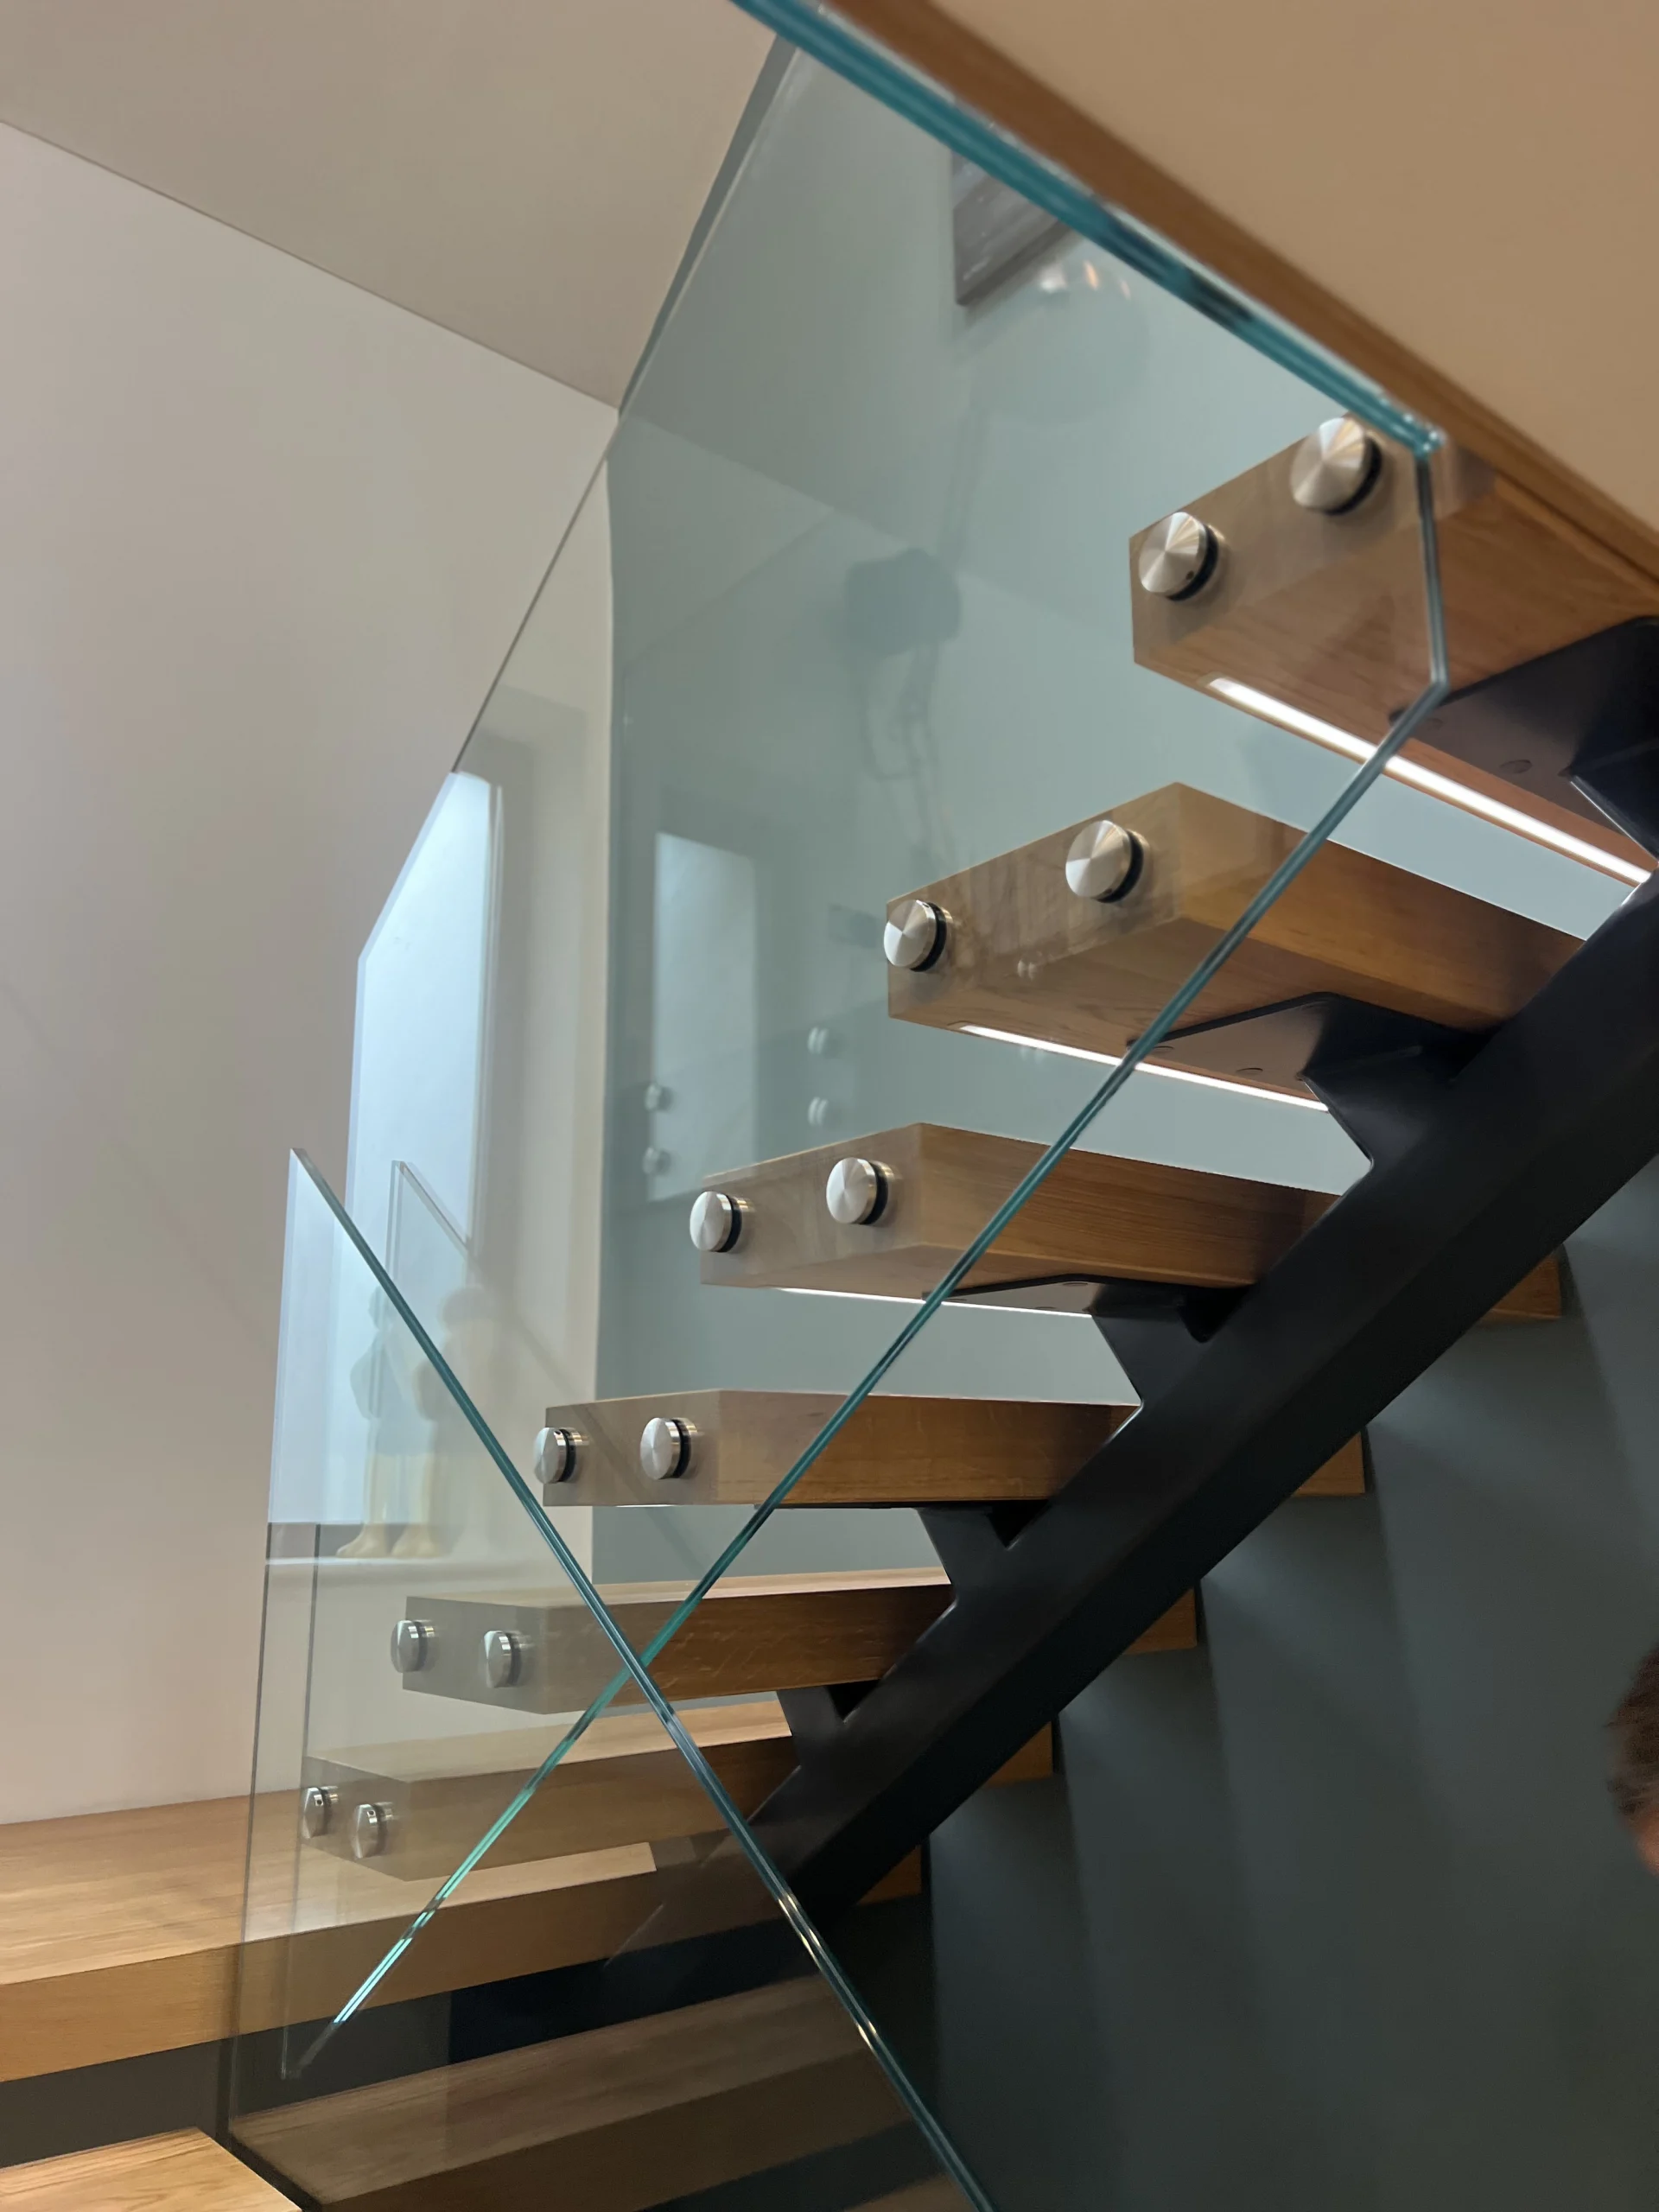
Specifying Tread Thickness Too Thin
Why it happens
On a floating staircase, the tread overhangs the fixing point — it is cantilevered rather than simply resting on a riser. A tread that is structurally adequate when supported from below may flex, bounce or deflect perceptibly when cantilevered. This is particularly common on timber treads where the grain orientation, moisture content and fixing detail interact. A tread that feels solid during installation may develop perceptible movement within six months of use as the timber acclimatises to the building's environment. The effect is alarming to users and costly to retrofit.
How to avoid it
Specify tread thickness based on the cantilever span and material, not on aesthetics. Solid oak and walnut treads should be a minimum of 40mm thick for cantilevered spans up to 900mm. For spans of 900–1200mm, 50mm is the safer specification. Steel plate treads on a floating design should be a minimum of 8mm plate, typically 10mm for spans over 900mm. The fixing detail at the wall — the depth of embedment and the fixing hardware — is as important as the tread thickness itself and must be engineered for the specific span and loading.
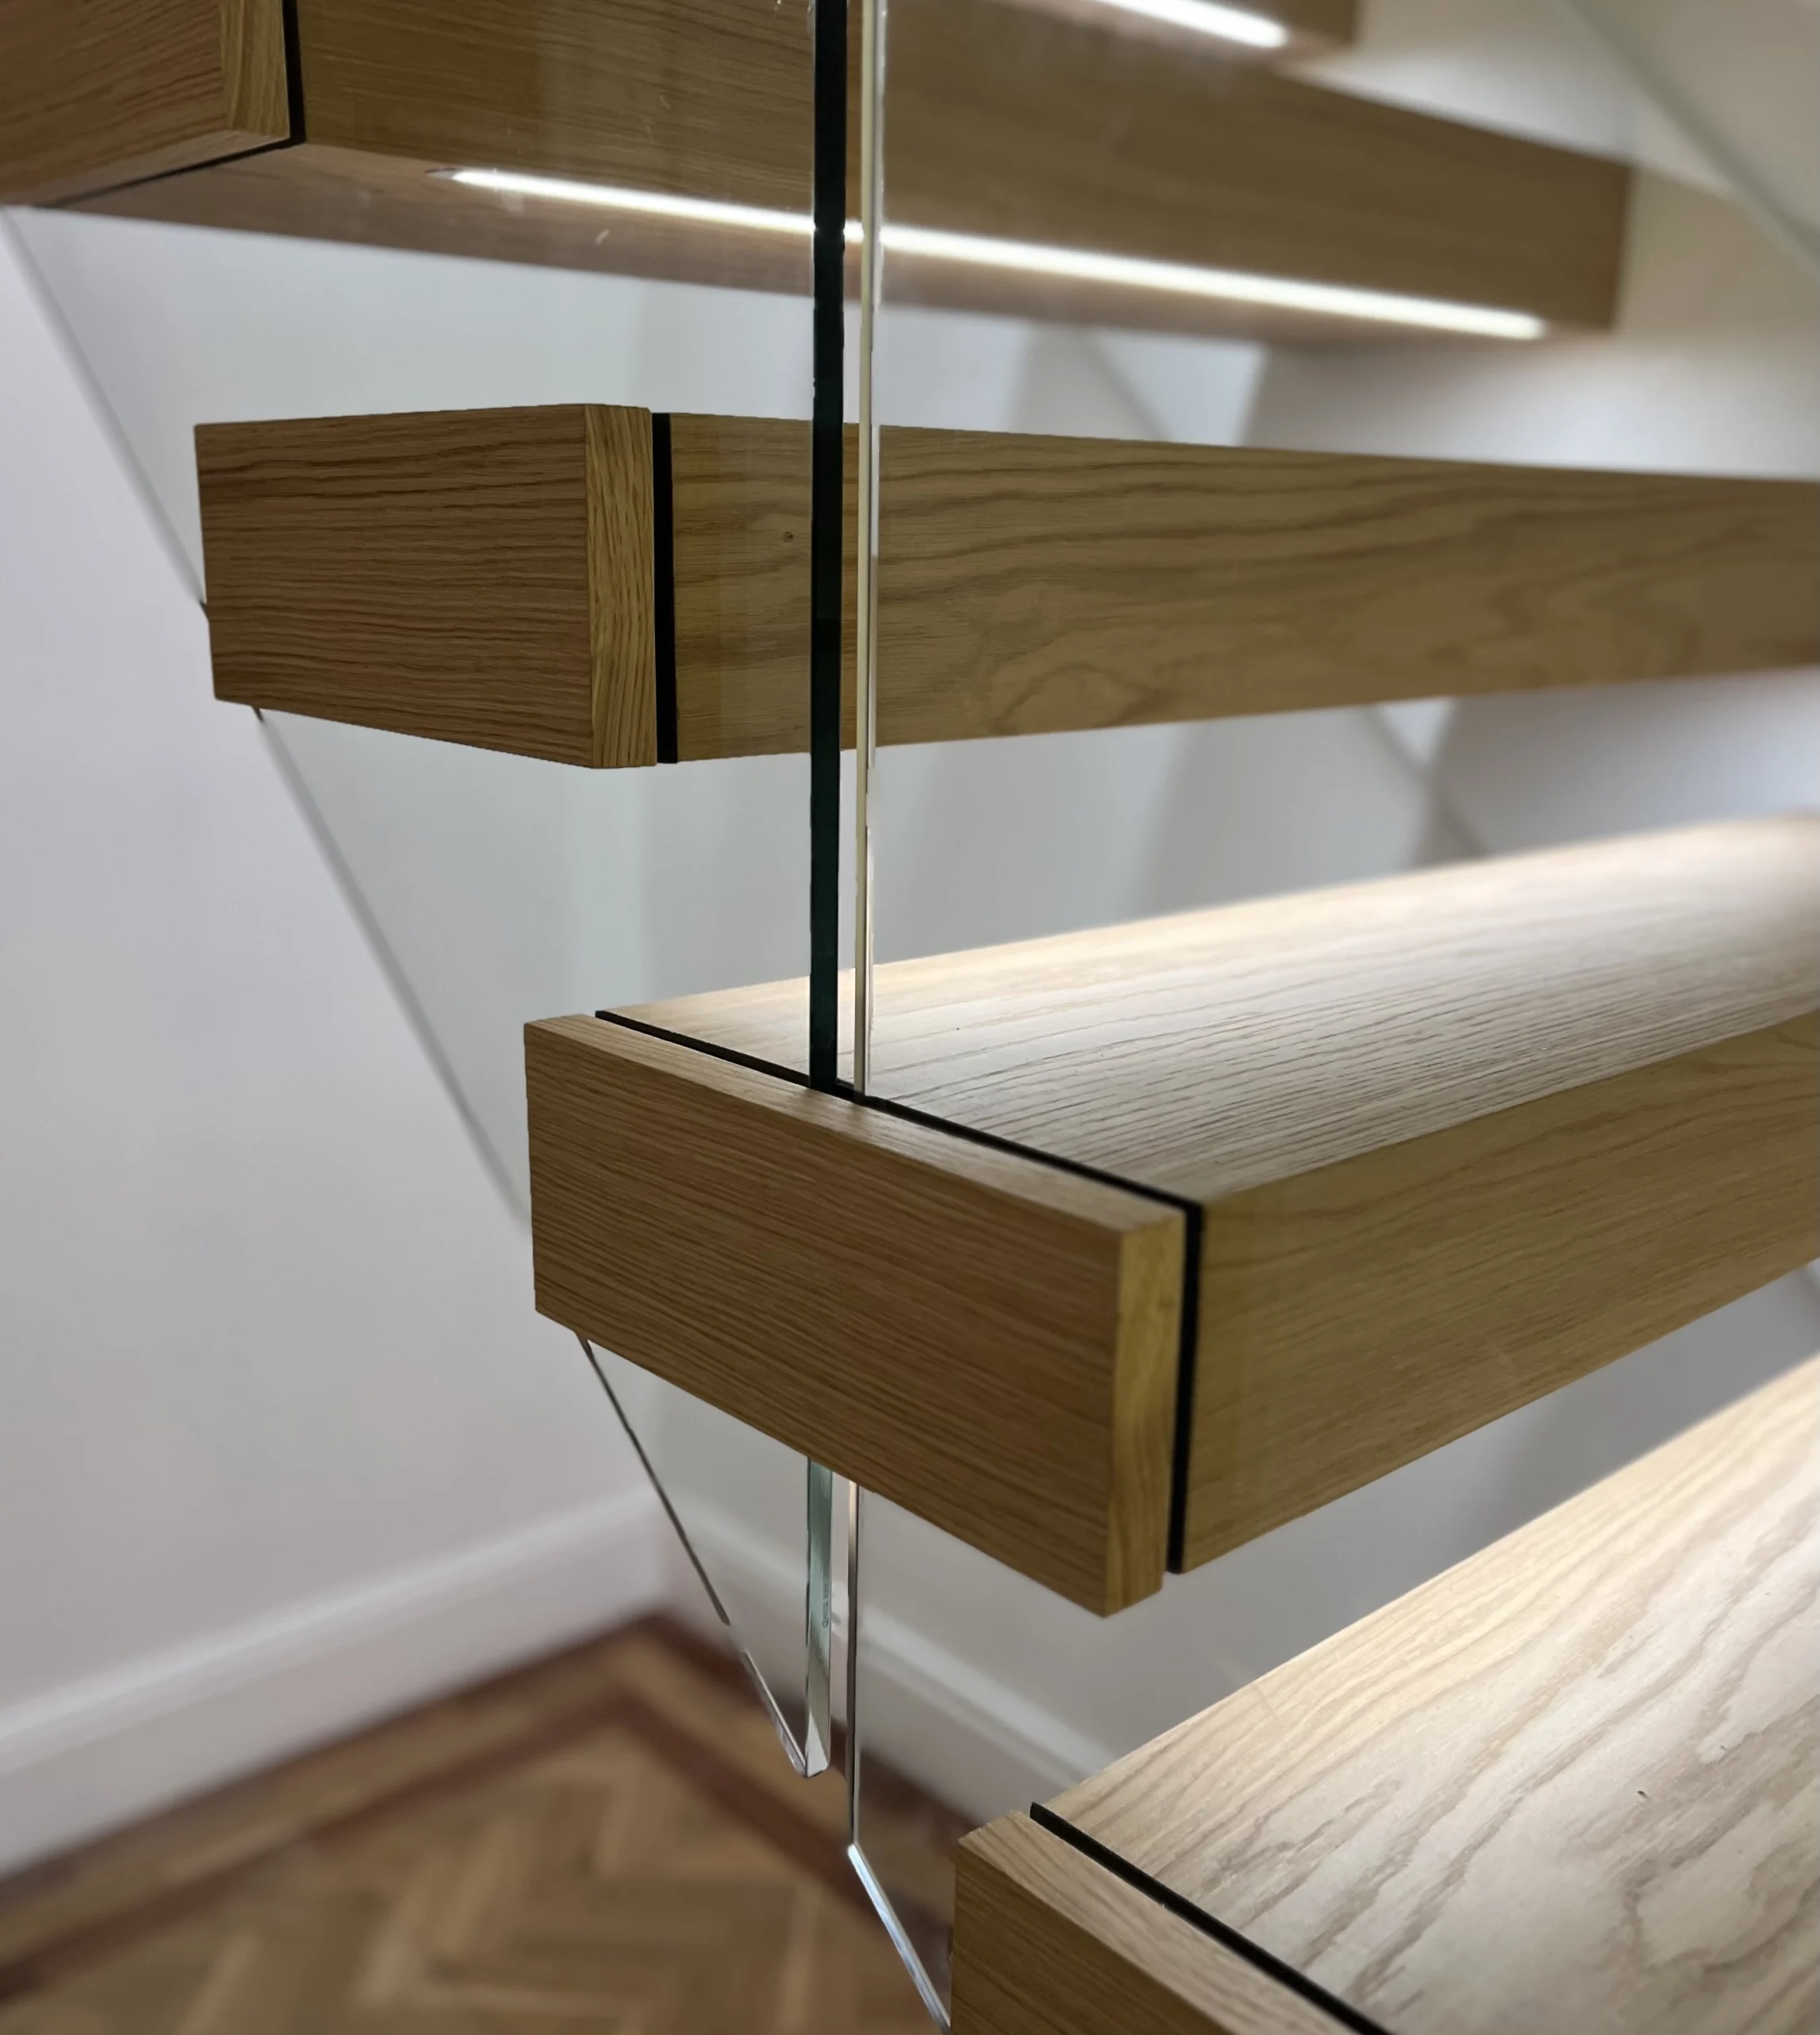
Ignoring the 100mm Sphere Rule on Open Risers
Why it happens
Floating staircases are almost always specified with open risers — no vertical panel between treads — which is what gives them their characteristic lightness. Approved Document K permits open risers on private domestic staircases on one condition: no opening in the stair structure may permit the passage of a 100mm diameter sphere. This is the 100mm sphere rule. The rule applies to the gap between treads and to the gap between the bottom tread and the floor. Many floating staircase designs are drawn without checking this dimension — particularly where the rise is at the maximum 220mm and the tread overhang is generous. Building Control inspectors check this at the site inspection.
How to avoid it
The gap between tread nosings on a floating staircase is determined by the rise minus the tread thickness. With a 220mm rise and a 40mm tread, the gap is 180mm — which fails the 100mm sphere rule. To comply, either the rise must be reduced, the tread thickness increased, or a partial riser panel added. In practice, most floating staircase designs that comply use a rise of 160–180mm, which creates a gap of 120–140mm between tread top and the nosing of the tread below — still above 100mm. Adding a 30–40mm downstand to the tread nosing closes this gap to under 100mm without adding a visible riser.
Ordering Based on Drawings Rather Than a Site Survey
Why it happens
Architectural drawings are produced to a scale and tolerance that is entirely appropriate for planning but insufficient for staircase fabrication. A floor-to-floor height shown as 2,800mm on a drawing may be 2,783mm on site. A stairwell opening shown as 3,200 × 900mm may be 3,185 × 887mm once existing finishes are accounted for. For a modular staircase this may be inconsequential — panels can be trimmed on site. For a bespoke floating staircase where every tread, handrail bracket and balustrade panel is fabricated to exact dimensions, a discrepancy of 15mm can mean a tread that hits the wall on installation or a glass panel that is 15mm short of the landing edge.
How to avoid it
No floating staircase should be fabricated without a physical site survey using precise measurement tools. Every critical dimension — floor-to-floor height, stairwell opening in plan, wall positions, ceiling height at pitch line, door opening positions and existing floor finish thickness — must be measured on site, not taken from drawings. Continox carries out a free on-site survey as a mandatory first step on every project. The fixed-price quotation is issued from site measurements, not from plans — which means the fabricated staircase fits exactly on installation day.
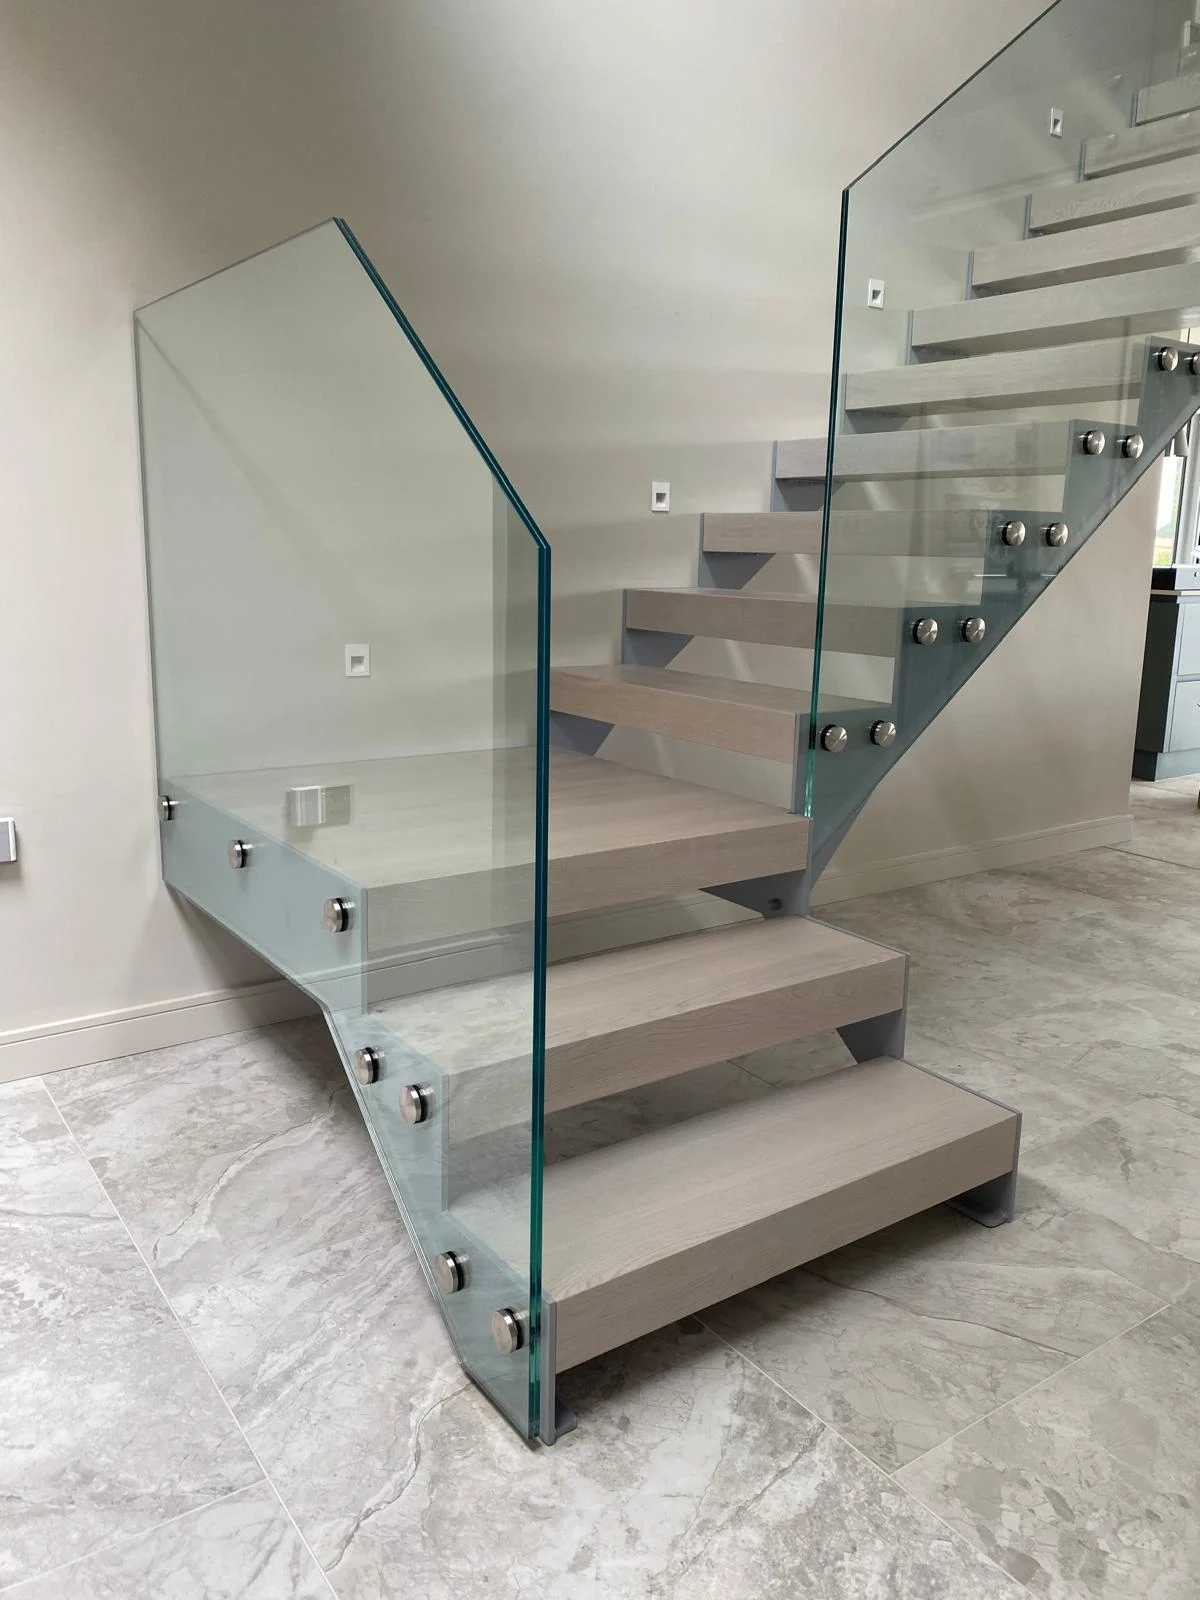
Choosing the Wrong Balustrade Fixing Method for the Substrate
Why it happens
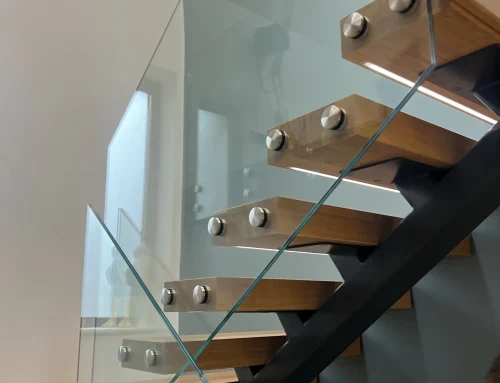
Frameless glass balustrades can be fixed in two main ways — a base channel fixed to the stair structure, or patch fittings bolted through the tread or stringer. The choice between them depends critically on the substrate: what the channel or patch fitting is being fixed into, and whether that substrate can accept the required loads. A base channel fixed into a 40mm timber tread requires the tread to resist a pull-out force at the channel fixing points. A patch fitting bolted through a 40mm tread with a recessed nut on the underside requires adequate tread thickness to accommodate the fixing depth. Installers who specify the same fixing detail regardless of substrate routinely create problems.
How to avoid it
The fixing method must be engineered for the specific substrate — not chosen on aesthetic grounds and then made to fit. For timber treads, the fixing positions, bolt sizes and pull-out values must be confirmed by calculation. For steel structure, welded fixing points provide the most reliable result. For concrete or masonry, chemical anchors rated for the required load are standard. All fixing details should be included in the structural calculations provided to Building Control. Any balustrade supplier who cannot provide structural calculations confirming their fixing design should be treated with caution — see our glass balustrade range for specification details.
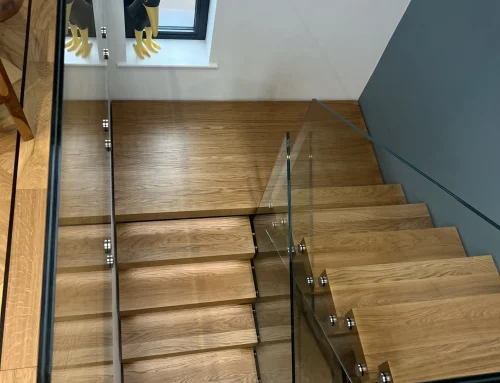
Not Matching the Tread Finish to the Existing Floor
Why it happens
A floating staircase with oak treads in a room with engineered oak flooring looks cohesive and resolved. The same staircase in a room with large-format porcelain tiles — where no attempt has been made to connect the tread finish to the floor material — looks like two separate projects placed in the same space. This is a common outcome when the staircase and floor are specified independently, by different contractors, without a coordinated material decision. It is particularly jarring where the bottom tread meets the floor — if the tread material, finish and height are not coordinated with the floor finish thickness, the transition looks unresolved and amateur.
How to avoid it
Specify the tread finish in the context of the completed floor finish — not the subfloor. The tread material does not need to match the floor exactly, but it should relate to it: oak treads on an oak floor; dark walnut treads on a dark tile or dark timber floor; steel plate treads in an industrial space with polished concrete. The transition between the bottom tread and the floor surface is a detail that must be resolved in the design: the finished floor thickness determines the effective bottom step height, which feeds back into the staircase rise calculation under Part K.
Installing Without Structural Calculations and Building Control Sign-Off
Why it happens
Some installers — particularly smaller operators and online supply-only companies — do not provide structural calculations as standard and do not notify Building Control before installation. Homeowners, unaware of the obligation, accept this and the staircase is installed without inspection. The staircase may look and function perfectly for years. The problem arises when the property is sold: a buyer's solicitor will raise a completion certificate request for the staircase installation. Without one, the buyer's solicitor will either require an indemnity insurance policy (which is expensive and does not guarantee coverage) or insist on retrospective Building Control approval — which may require opening up finished work to allow inspection.
How to avoid it
Every new staircase installation requires Building Regulations approval under Approved Document K. This means notifying Building Control before work begins (Building Notice or Full Plans application), having the installation inspected at key stages, and obtaining a Completion Certificate on sign-off. The installer must provide structural calculations, CAD drawings and material specifications to support this process. Continox provides all of this as standard — the full compliance documentation package is included in the project price, not charged as an extra.
The Cost of Getting It Wrong: Real Figures
The seven mistakes above are not abstract risks — they have real financial consequences. The following are typical remediation costs based on Continox's experience of being called in to assess or correct poorly planned floating staircase projects.
Pre-Order Checklist: 8 Things to Confirm Before You Commit
Use this checklist before placing an order with any floating staircase supplier. If a supplier cannot confirm all eight points, ask why — and consider whether the risk is one you want to carry.
Floating Staircase — Pre-Order Checklist
8 PointsPhysical site survey has been carried out
All dimensions taken from site, not from drawings. Floor-to-floor height, stairwell opening, wall construction and floor finish thickness all confirmed.
Wall substrate assessed and confirmed adequate
Wall construction identified (masonry, stud, concrete). Fixing positions confirmed to have adequate load-bearing capacity for cantilevered tread loads.
Tread thickness specified for confirmed cantilever span
Minimum 40mm solid timber or 8mm steel plate for spans up to 900mm. Increased thickness specified for longer spans.
100mm sphere rule checked on open riser design
Gap between tread nosings (Rise − Tread thickness − Nosing downstand) confirmed to be less than 100mm.
Balustrade fixing method engineered for substrate
Base channel or patch fitting design confirmed for the specific tread material and substrate. Pull-out values calculated and documented.
Bottom step rise calculated from finished floor level
Floor finish thickness confirmed and accounted for in rise calculations. Uniform rise series confirmed across all treads.
Structural calculations included in the project scope
Full structural engineering to BS EN 1090 — confirming load compliance, fixing design and material specification — included as standard, not as a paid extra.
Building Control notification and UKCA documentation confirmed
Supplier will provide CAD drawings and UKCA Declaration of Performance to support Building Control submission. Completion Certificate to be obtained on sign-off.
View our full range of floating staircase designs and our complete modern staircase range. For pricing by design and specification see our Bespoke Staircase Cost UK guide.
Floating Staircase Design — FAQ
Common questions from homeowners planning a floating staircase installation in the UK.
Free Survey, Structural Calculations & Fixed-Price Quote
Free on-site survey including substrate assessment, 3D design visuals, full structural calculations and fixed-price quotation within 24 hours. Floating staircases from £7,900 — designed, manufactured and installed across the UK.