
Installing a glass Juliet balcony is one of the simplest structural upgrades you can make to a UK property — but "simple" does not mean "no room for error." The glass is heavy (a standard 1,200mm × 1,100mm toughened panel weighs 30–40kg), the fixing height must be precise to the millimetre for Building Control compliance, and the fixings must anchor into structural masonry — not render, insulation, or brick slips. This guide covers the complete installation process for glass Juliet balconies, from the three main fixing systems through to the step-by-step procedure, the common mistakes that cause Building Control rejections, and the tools and materials you need before you start.
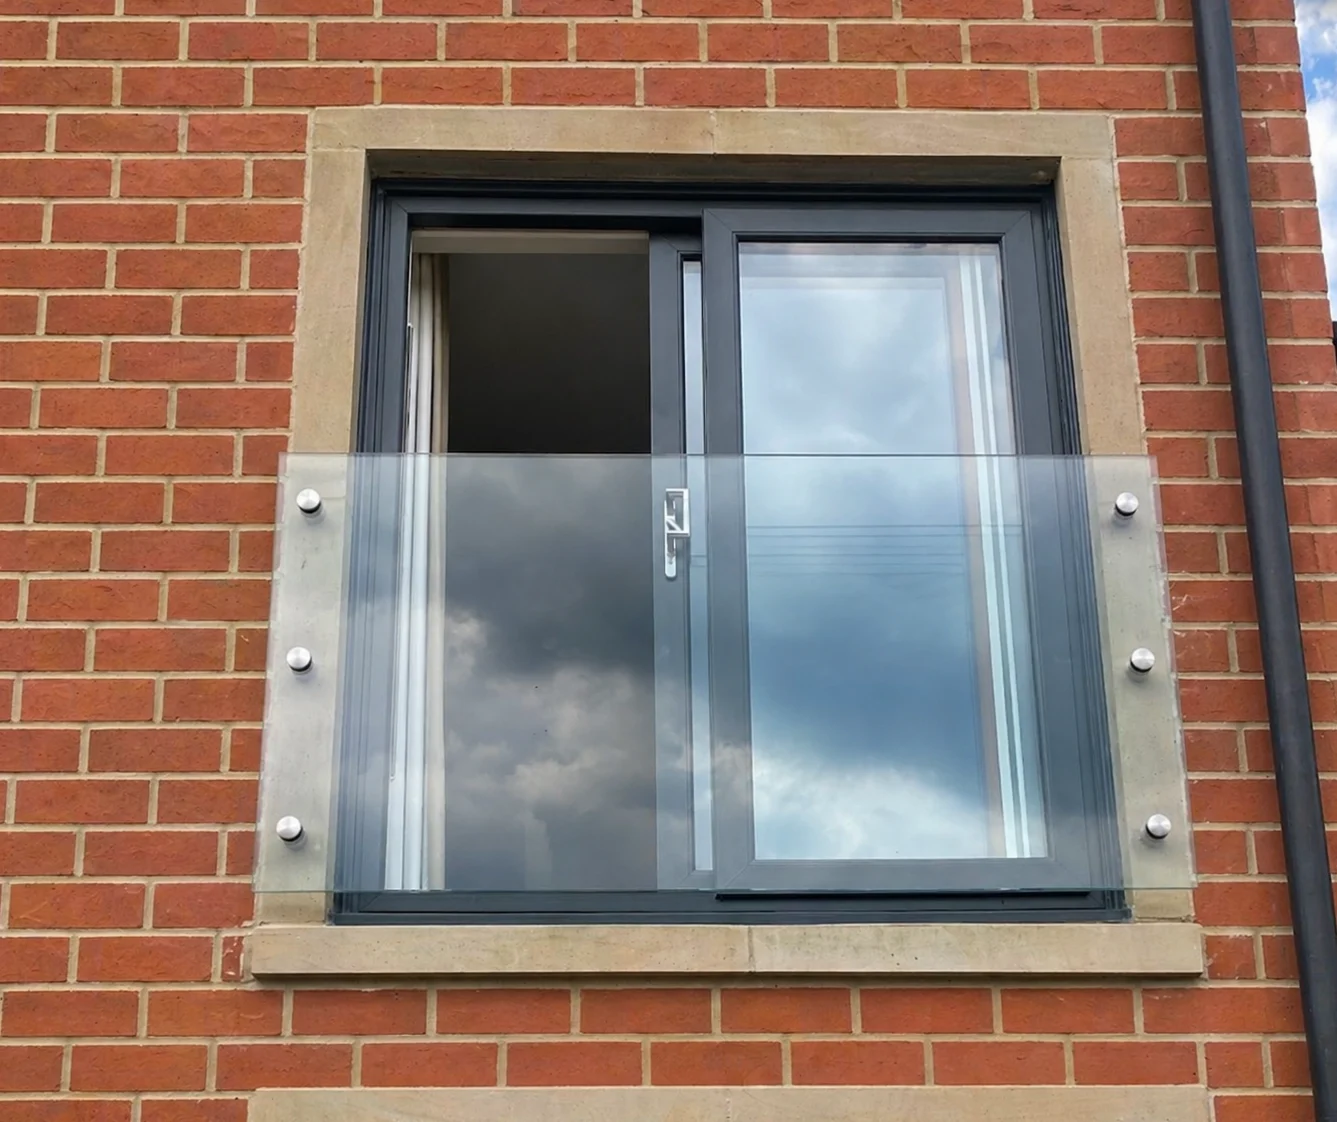
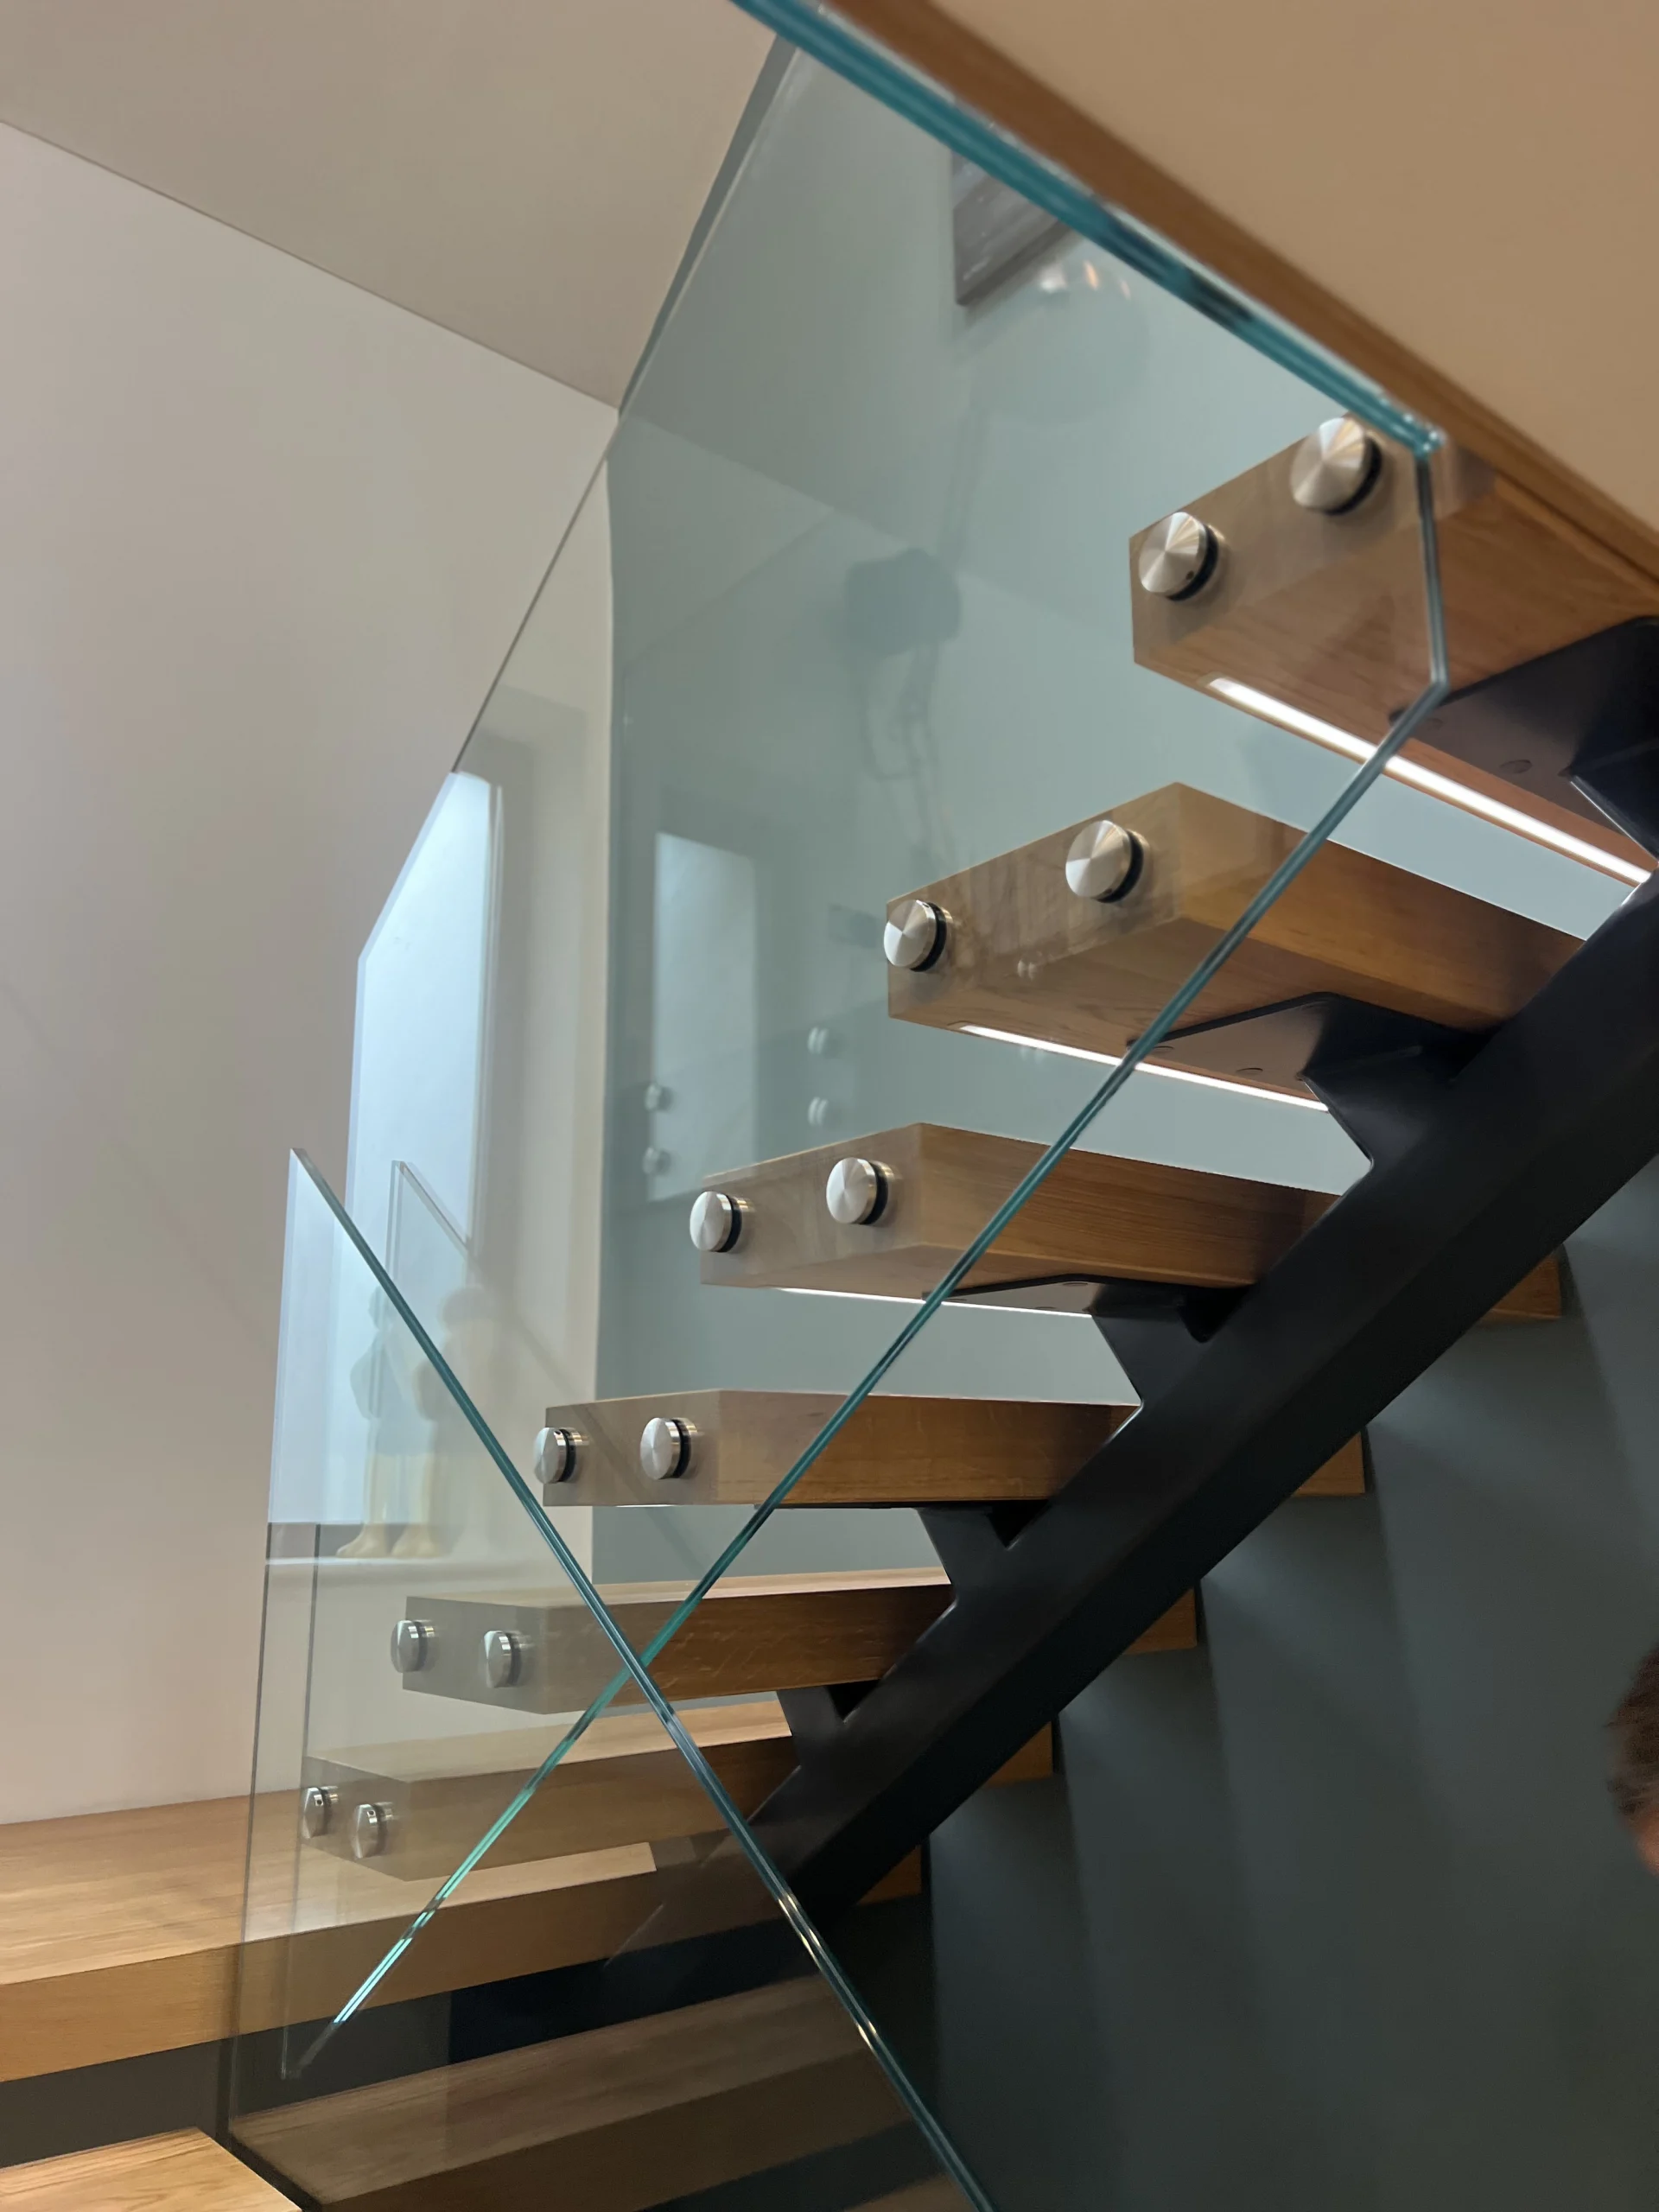
A frameless glass Juliet balcony with point fixings — the most popular system for UK installations
Glass Juliet balcony installation involves three main systems: side-fixed point fixings (glass bolted to the wall each side of the opening — best for openings up to 2.2m), base-fixed point fixings (glass bolted below the cill — best for wider openings), and U-channel / profile systems (glass slides into aluminium or steel side channels — frameless aesthetic). Installation takes 2–4 hours for an experienced installer. The glass must achieve 1,100mm height from finished floor level, fixings must anchor into structural masonry or steel using M10–M12 chemical anchors, and the installation must withstand 0.74 kN/m horizontal line load. Glass specification: 10–15mm toughened (framed systems) or 17.5–21.5mm toughened laminated (frameless systems).
3 Fixing Systems — Which One Fits Your Opening?
The fixing system determines how the glass is attached to the building — and the choice depends on your opening width, wall construction, and whether you have a protruding window cill that needs to be cleared.
1 Side-fixed point fixings
The glass panel is secured by stainless steel point fixings (standoffs) bolted into the wall on each side of the opening. The fixings pass through pre-drilled holes in the glass. This is the most common system for standard French door openings up to approximately 2.0–2.2m wide. The glass panel height is typically 1,100mm (with no section below the opening), so the full panel height provides the required guarding height.
Advantages: the cleanest aesthetic (no framework above or below the glass), works on most standard French door openings, and the fixings can be positioned to avoid the window cill. Limitations: maximum width is approximately 2.0–2.2m for a single panel — wider openings need a base-fixed system or multiple panels.
2 Base-fixed point fixings
The glass panel is secured by point fixings bolted into the wall below the opening (beneath the window cill). The panel extends 300mm below the cill and 1,100mm above the finished floor level — giving a total panel height of 1,400mm. This system handles wider openings (up to 3.5–4.0m with multiple panels) because the fixings can be distributed along the full width beneath the opening rather than being limited to the side walls.
Advantages: handles wider openings, fixings are hidden below the cill, and the 300mm below-cill section adds structural rigidity. Limitations: the glass must clear the window cill (standoff back plates of 10–100mm are available to bridge the gap), and the cill area must have structural masonry behind it (not just insulation or render). Point fixings are typically supplied with a 50mm diameter head, with 6 fixings per 1.4m-wide panel.
3 U-channel / side profile system (frameless)
The glass panel slides into aluminium or steel U-channel profiles fixed vertically to the wall on each side of the opening. Rubber gaskets within the channel grip the glass edges, and a top cap or handrail may be added. This produces the most truly "frameless" appearance — only slim vertical profiles are visible at the edges. The glass for this system is typically thicker (21.5mm toughened laminated) because it must span the full opening width without support along the bottom edge.
Advantages: the cleanest frameless look, no visible fixings on the glass face, and the channel provides continuous support along the glass edge. Limitations: maximum single-panel width is approximately 1.1m per channel system (wider openings need multiple panels or a different system), and the profiles must be fixed to structural masonry or steel — not to the door frame.
| System | Max Width (Single Panel) | Glass Thickness | Best For |
|---|---|---|---|
| Side-fixed point fixings | ~2.0–2.2m | 17.5mm or 21.5mm laminated | Standard French doors |
| Base-fixed point fixings | ~1.4m per panel (multi-panel) | 15mm toughened or 17.5mm laminated | Wide openings, bi-folds |
| U-channel / side profile | ~1.1m per channel (or up to 3m frameless) | 21.5mm toughened laminated | Maximum frameless aesthetic |
| Framed system (top + bottom rail) | ~2.8m | 10mm toughened | Budget option, traditional look |
For a full explanation of what a Juliet balcony is and the Building Regulations that apply, see our what is a Juliet balcony guide. For a comparison of Juliet balconies versus walk-out balconies, see our Juliet vs walk-out balcony comparison.
Glass Specification — What to Use and Why
| Glass Type | Thickness | Use Case | Approx Weight (1.2m × 1.1m) |
|---|---|---|---|
| Toughened (BS EN 12150) | 10mm | Framed systems with top + bottom rail only | ~33kg |
| Toughened (BS EN 12150) | 12–15mm | Base-fixed point fixing systems | ~40–50kg |
| Toughened laminated (BS EN 14449) | 17.5mm (8+1.52+8) | Frameless side-fixed, panels up to 1.7m wide | ~55kg |
| Toughened laminated (BS EN 14449) | 21.5mm (10+1.52+10) | Frameless U-channel, panels over 1.7m wide | ~68kg |
Toughened vs laminated — the critical difference: Toughened glass shatters into small, relatively safe pieces on impact — but the entire panel disintegrates, leaving the opening completely unguarded. Toughened laminated glass (two toughened layers bonded with a PVB interlayer) cracks but stays in place, maintaining the barrier function even when broken. For frameless Juliet balconies with no handrail, laminated glass is strongly recommended (and increasingly required by Building Control) because it provides continued fall protection after breakage. Framed systems with a structural handrail can use toughened-only glass because the handrail maintains the barrier if the glass fails.
Pre-Installation Checklist — Before You Drill Anything
1 Confirm the wall construction
Fixings must anchor into structural masonry (solid brick, dense block, concrete, or structural steel). They must not anchor into render, insulation, cavity fill, brick slips, aerated blocks (Thermalite/Celcon), or timber studs without additional reinforcement. For cavity walls, the fixings must reach the inner leaf of masonry — the outer leaf alone is typically not sufficient for the required loads. Use a detector or pilot drill to confirm what is behind the surface before committing to fixing positions.
2 Measure the finished floor level
The 1,100mm barrier height is measured from the finished floor level inside the room — including carpet, tiles, laminate, or screed. If the floor is not yet finished (for example, during a loft conversion or renovation), you must account for the planned floor buildup. A 20–30mm error caused by measuring from the slab instead of the finished floor is the single most common reason for Building Control rejection.
3 Check for services
Scan the wall for electrical cables, water pipes, and gas pipes before drilling. Pay particular attention to areas below the window cill (where base-fixed point fixings are positioned) — cables frequently run along the underside of window openings. Use a multi-detector that identifies metal pipes and live electrical cables.
4 Assess the window cill projection
If the window cill projects beyond the wall face (common in UK properties — typically 25–45mm), the glass panel must clear it. For side-fixed point fixings, select a standoff back plate thick enough to bridge the cill (available in 10mm, 20mm, 30mm, 40mm, 50mm, and 100mm thicknesses). For U-channel systems, the channels must be positioned so the glass clears the cill without fouling.
5 Confirm the opening width
Measure the structural opening width (masonry to masonry), not the door frame width. The glass panel must be sized to span the full opening with the fixings anchored into the structural wall on each side — not into the door frame. Allow 10–15mm tolerance on each side for fitting adjustments.
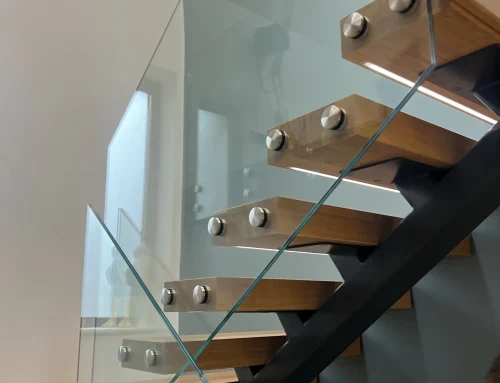
 Point fixings into structural masonry — the correct fixing substrate
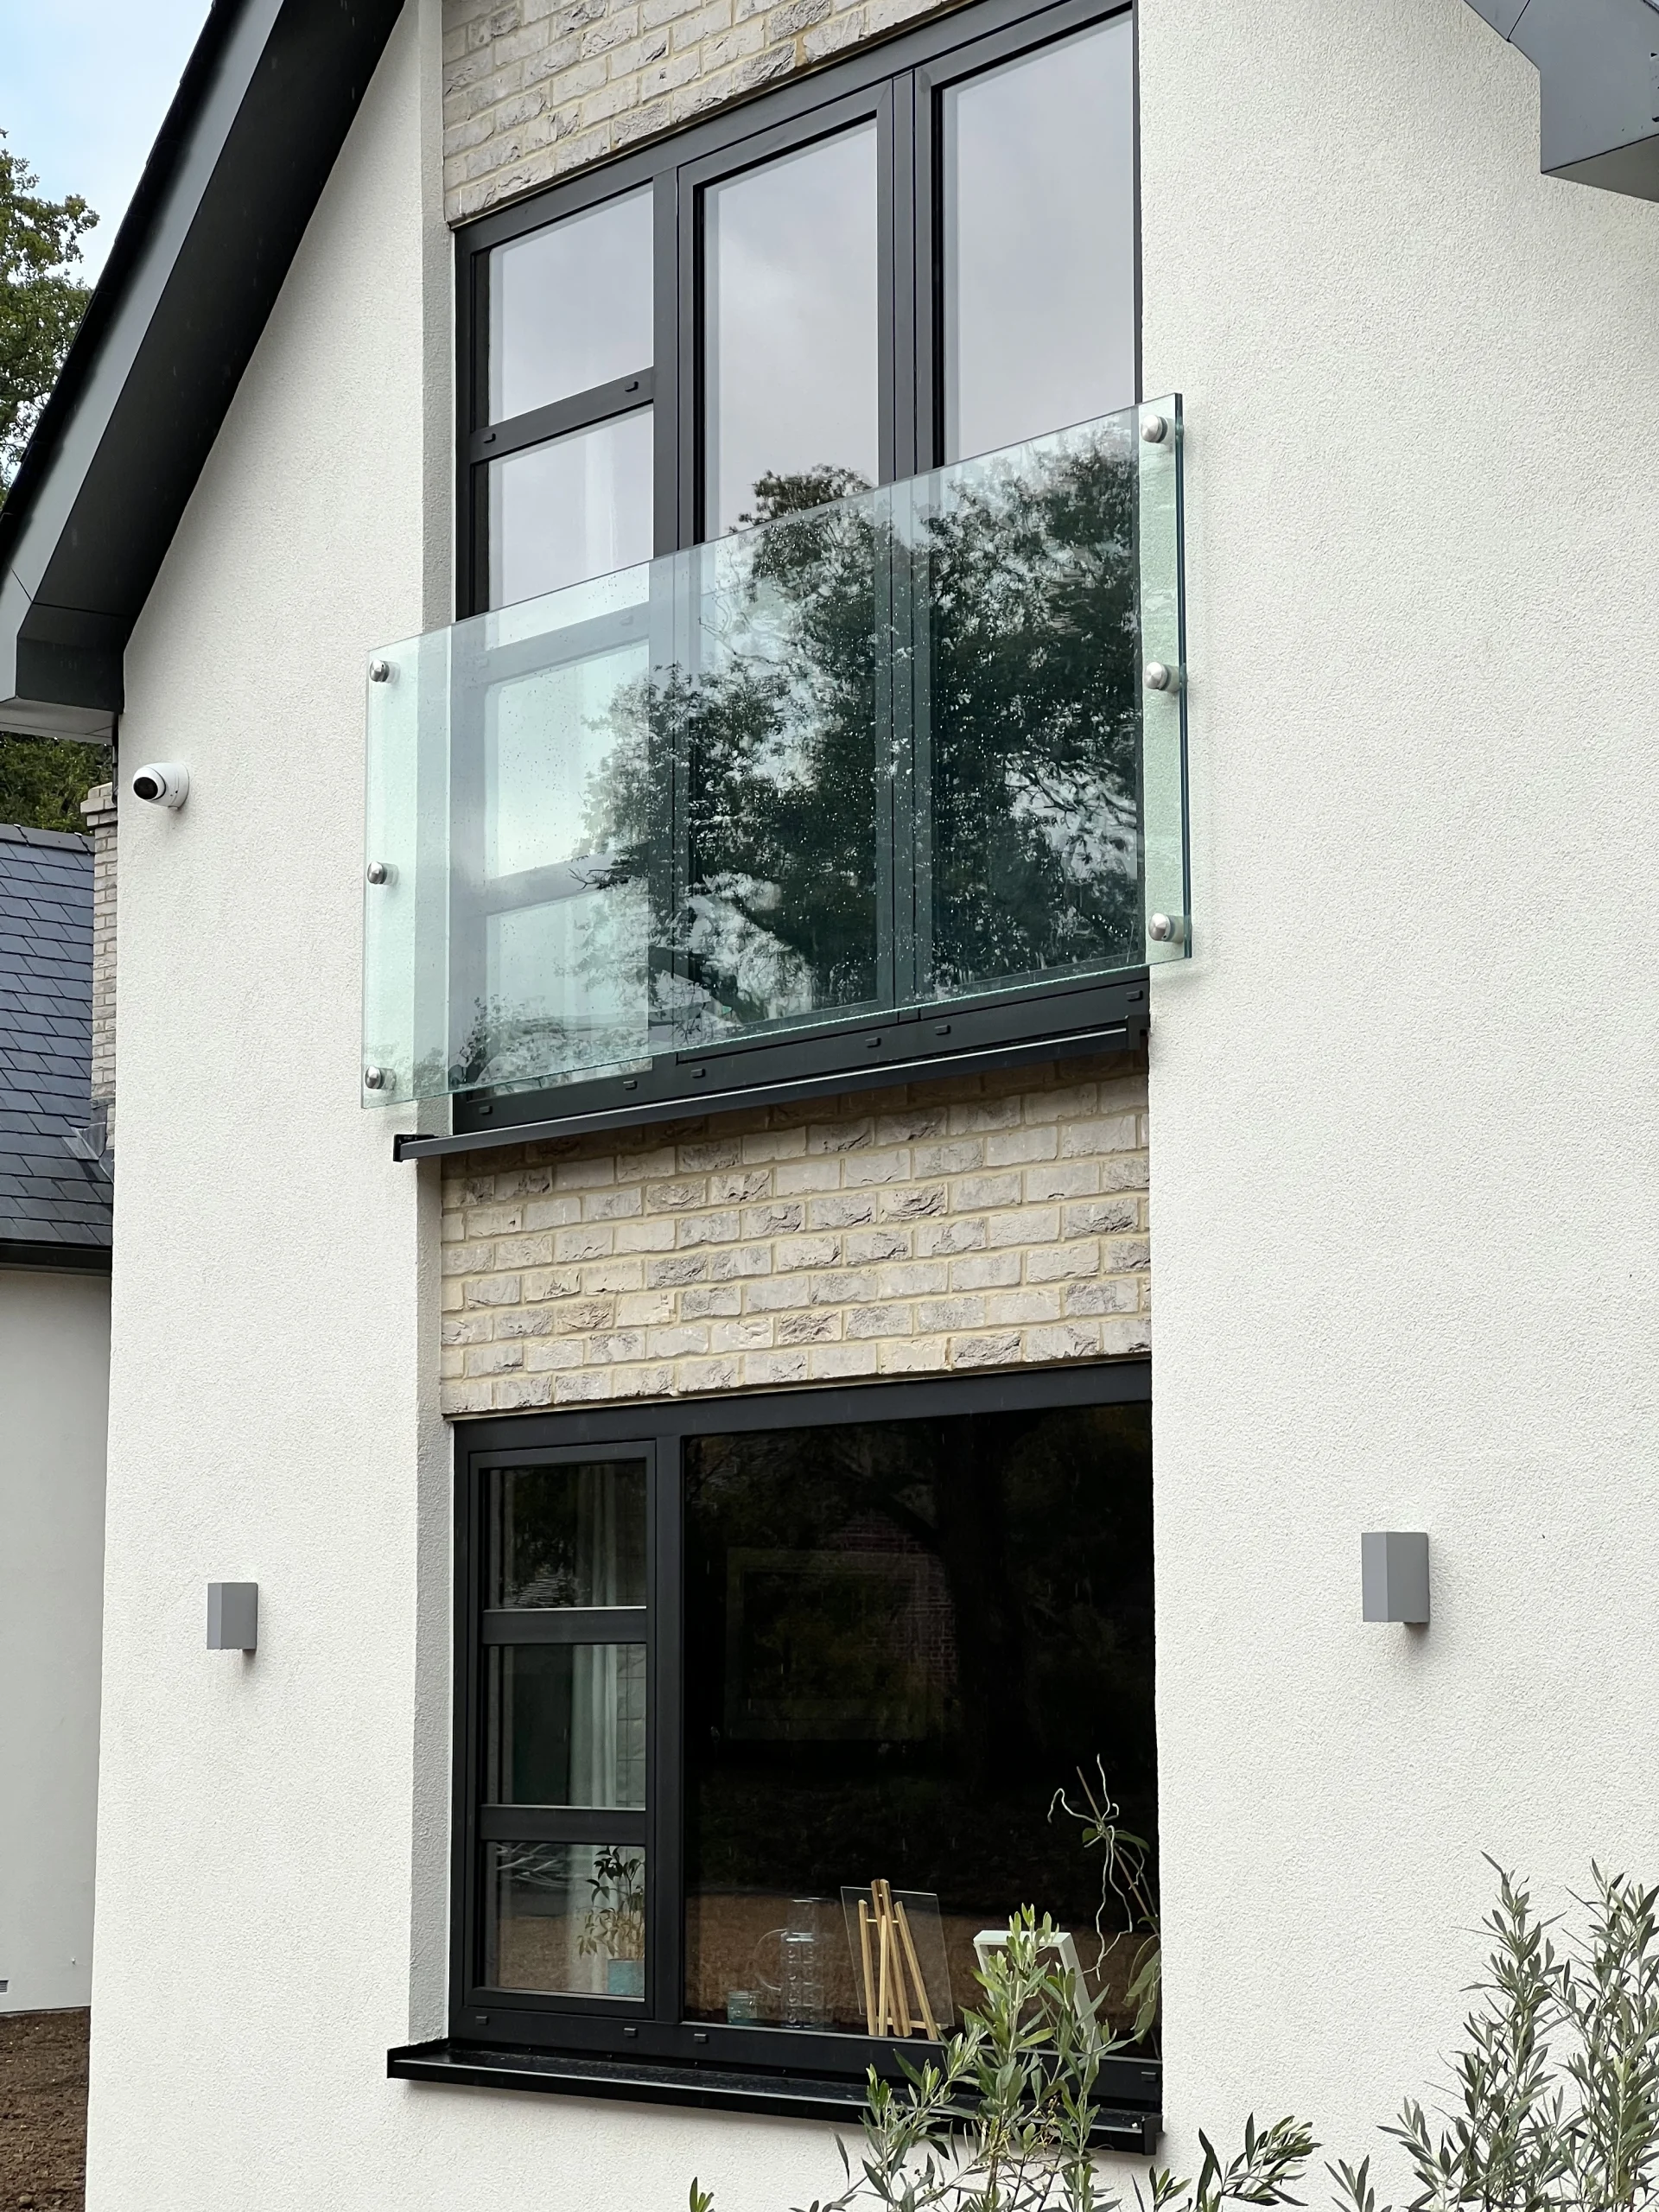
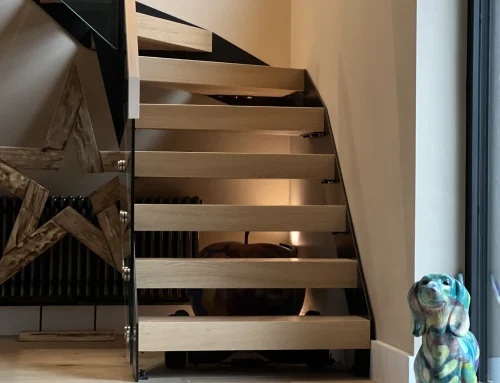
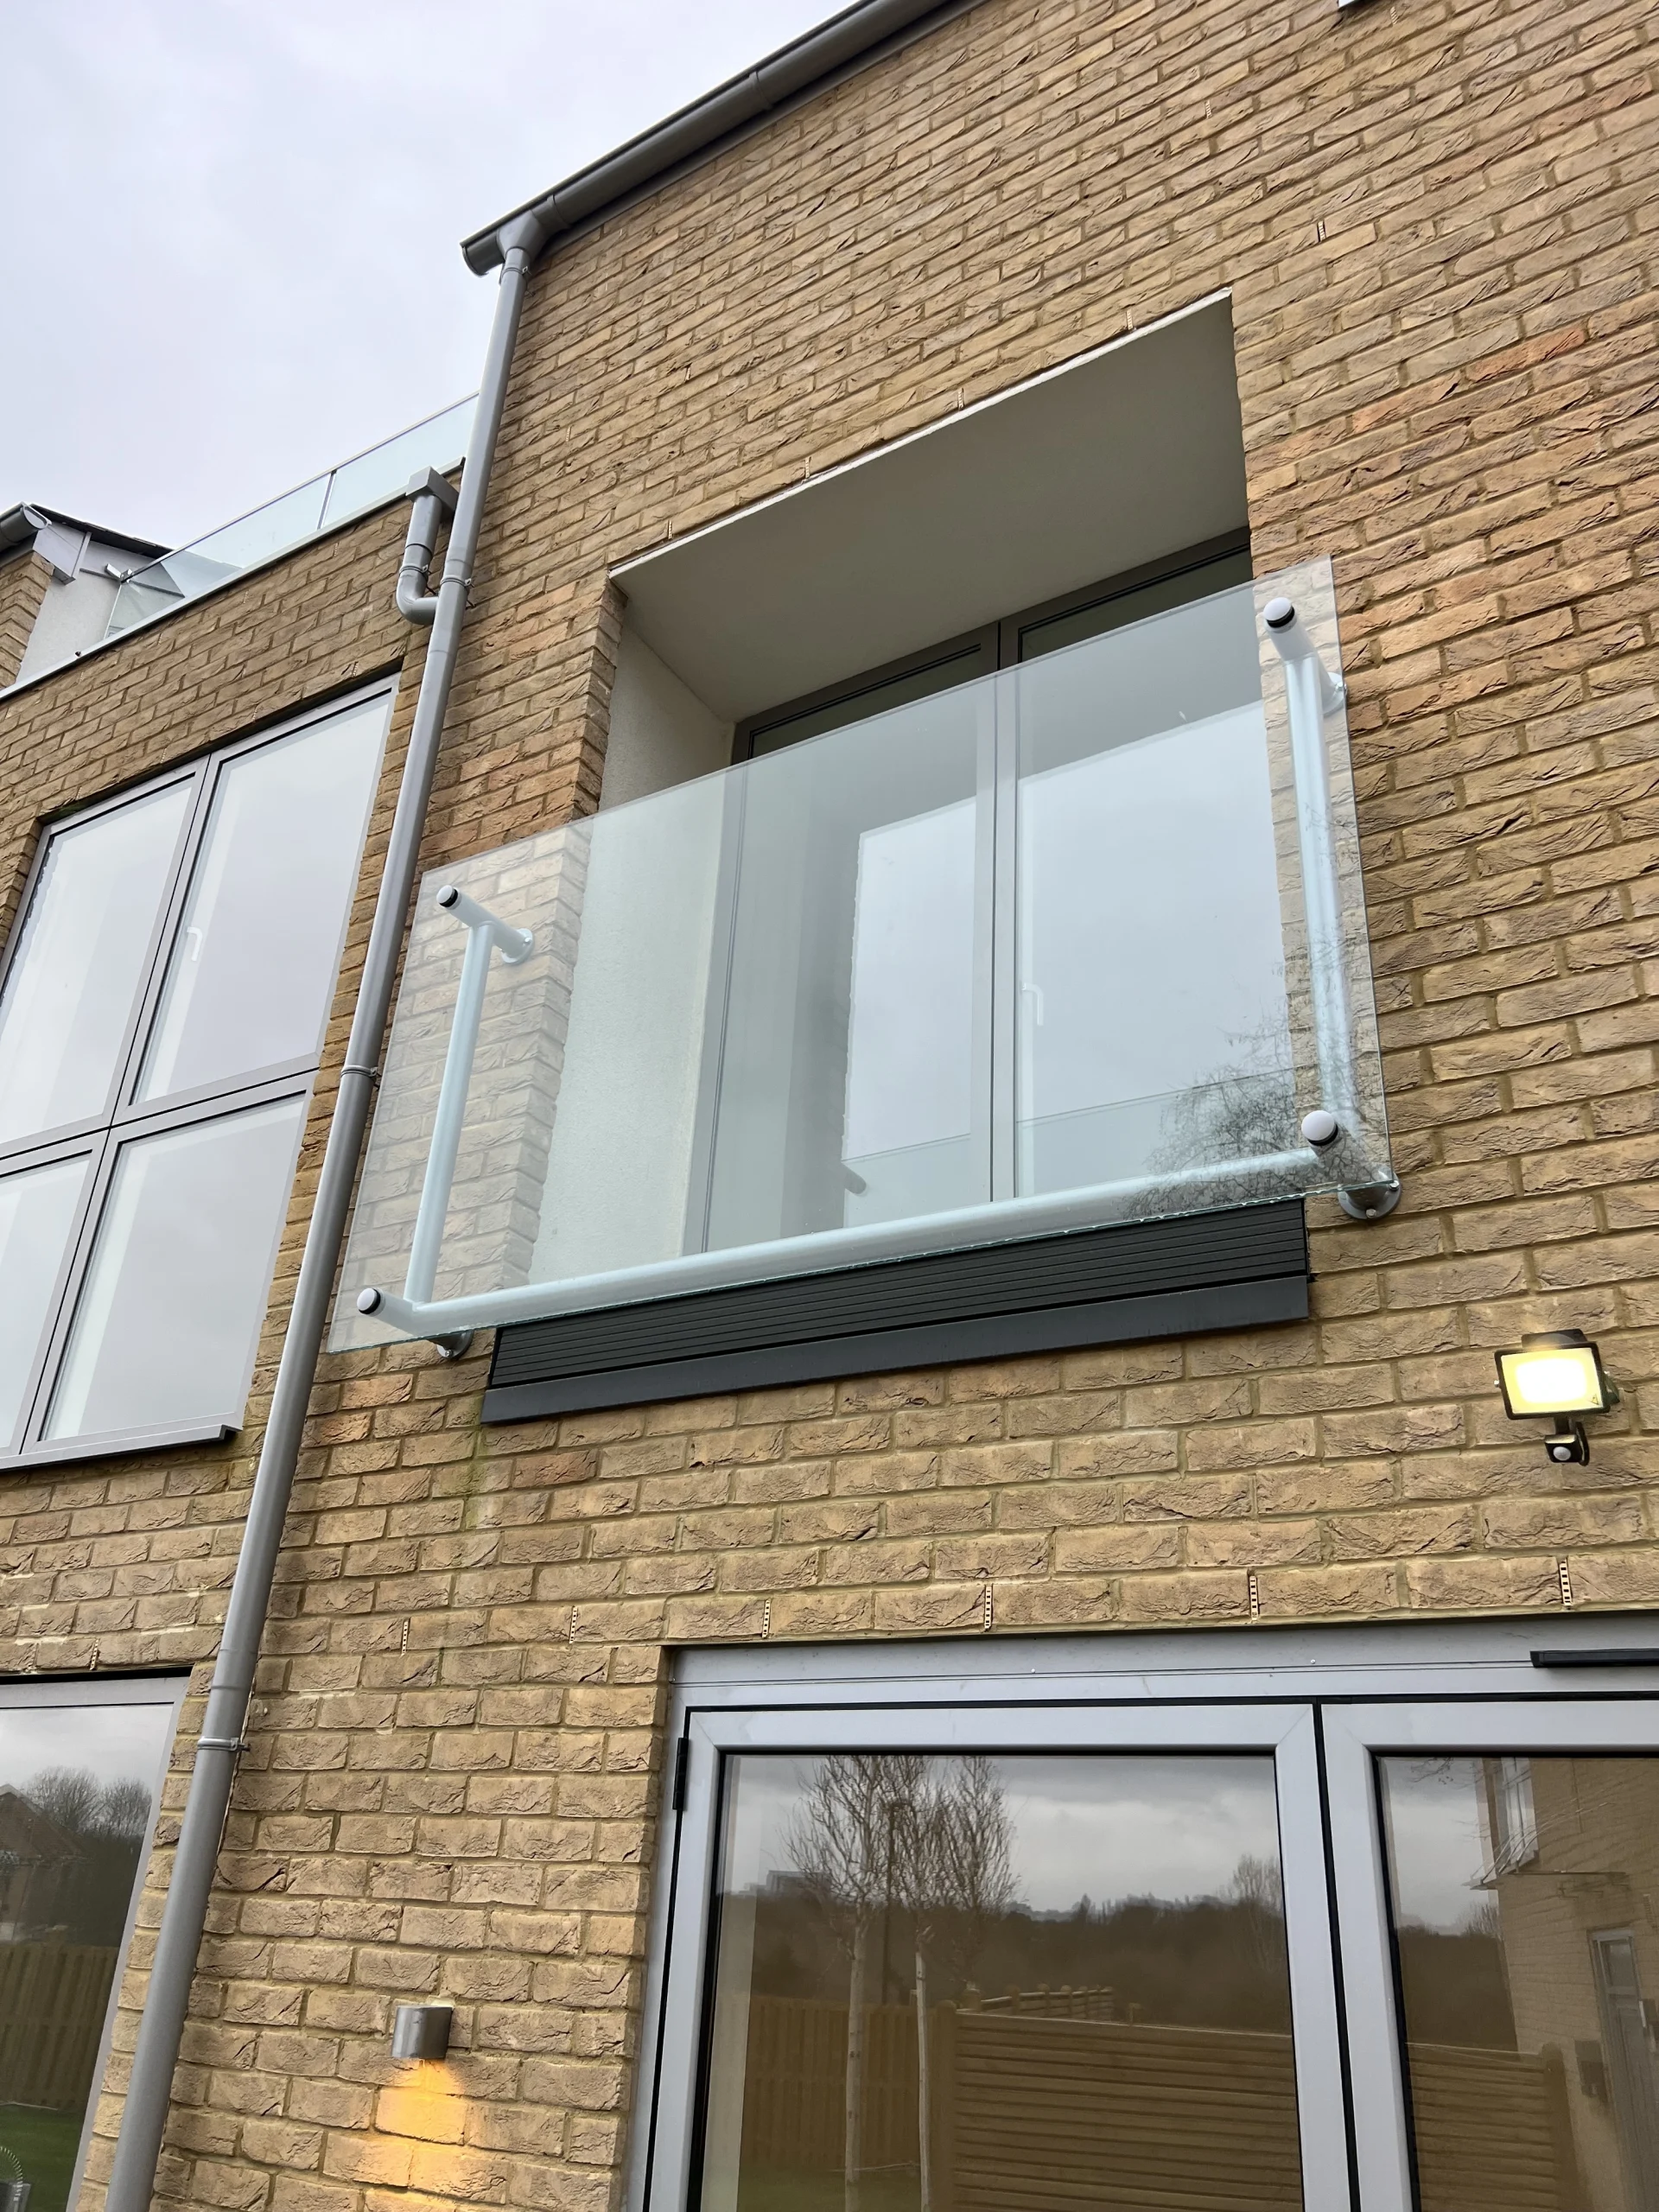 Glass + steel handrail — the handrail provides additional structural rigidity
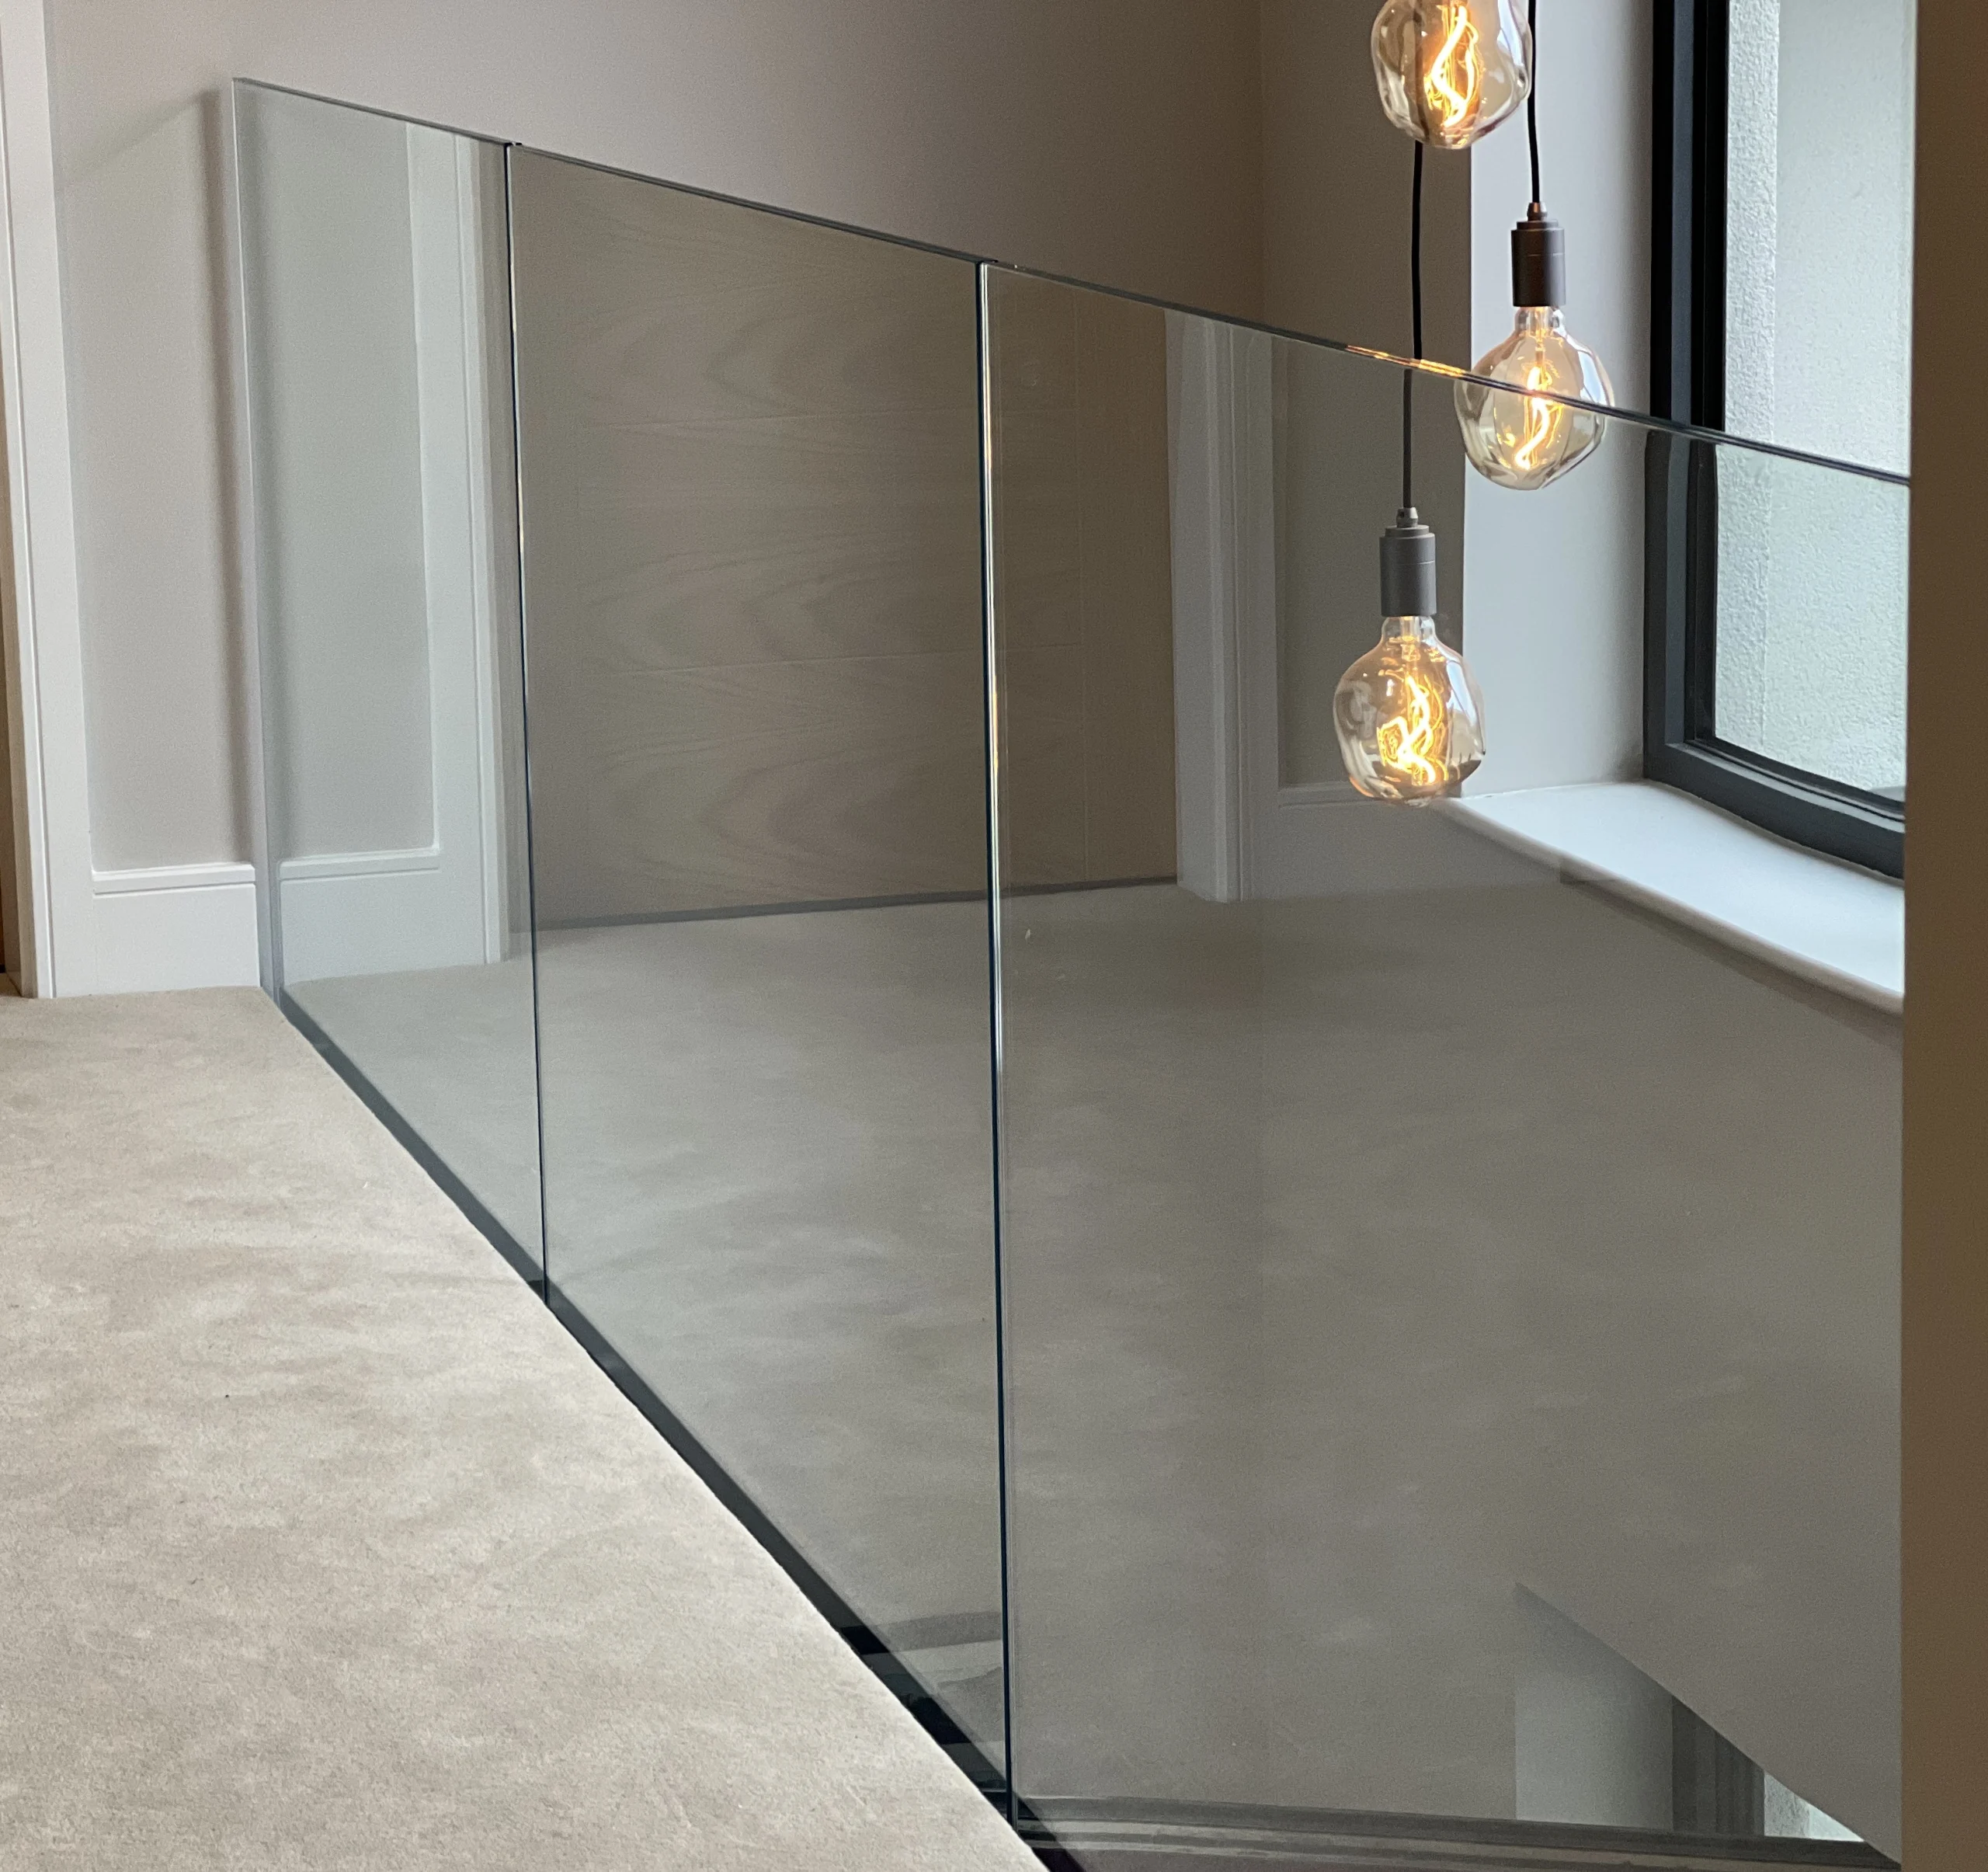
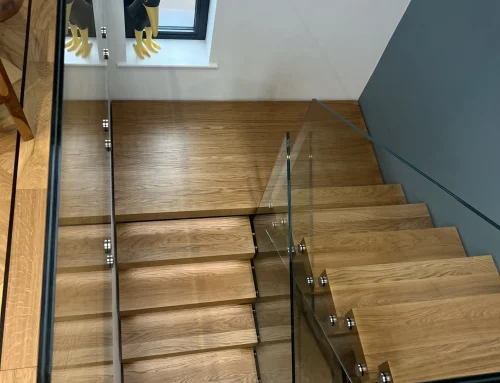
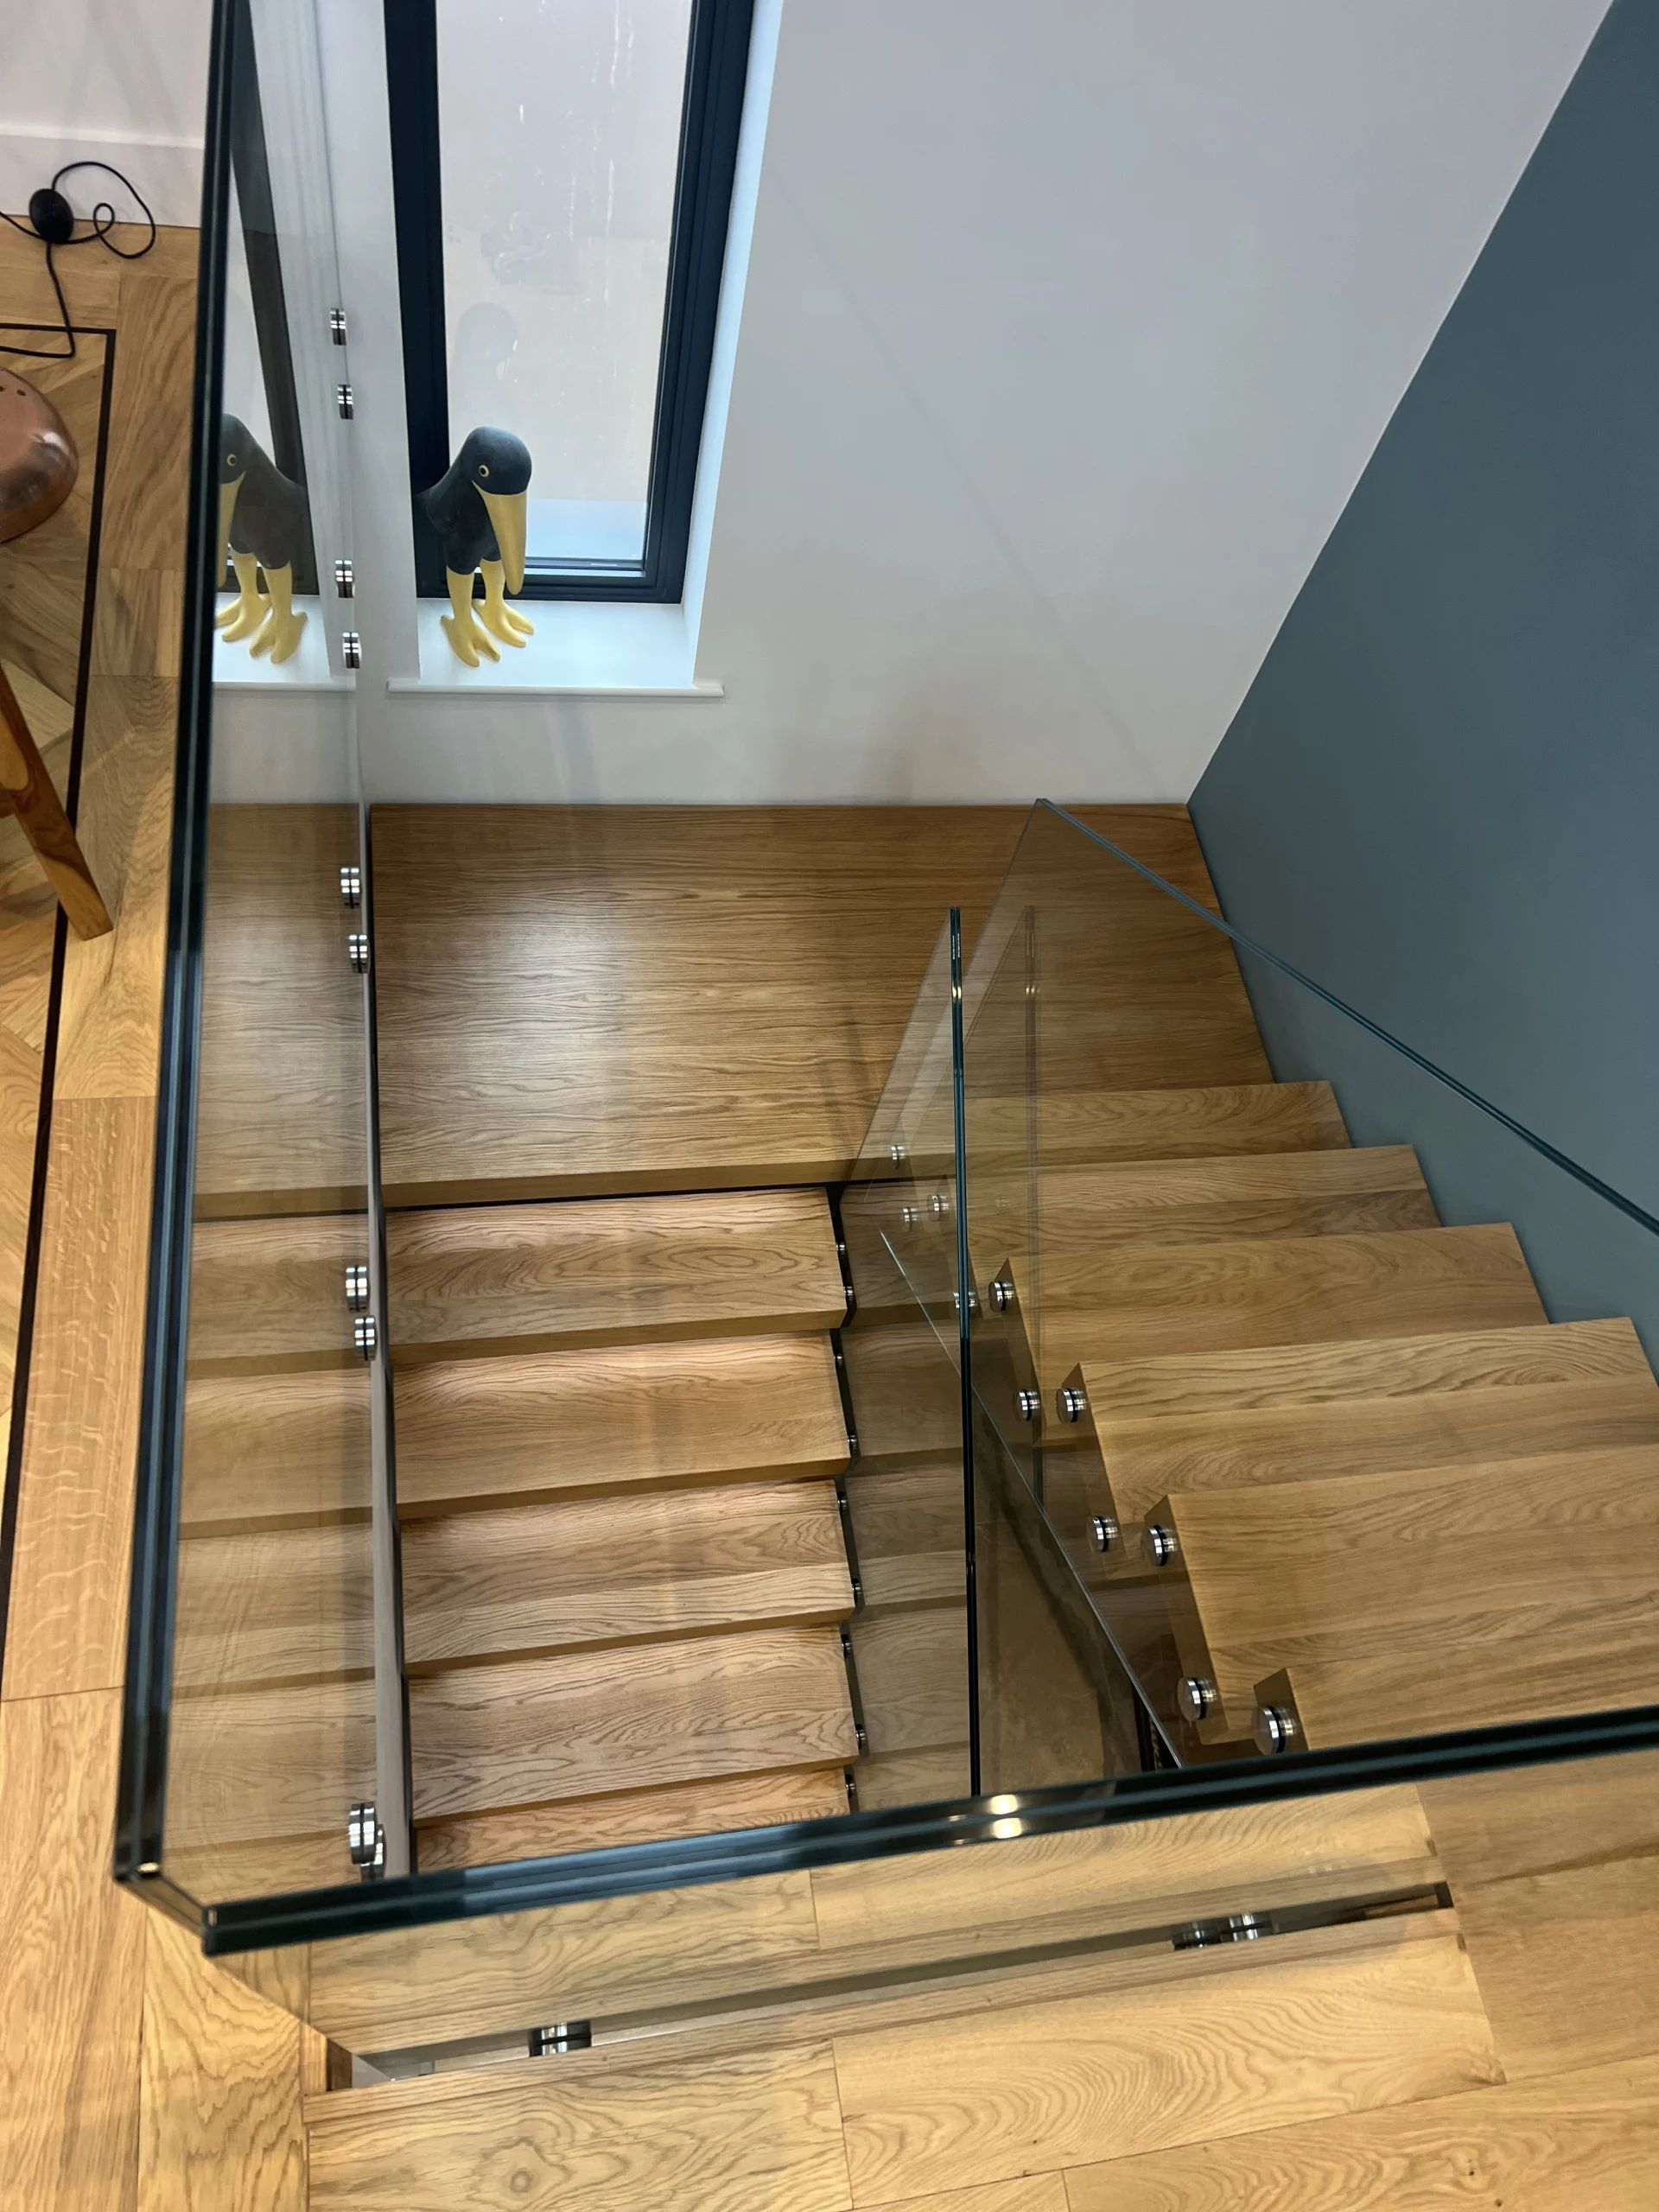
 Frameless glass spanning the full opening — side-fixed system
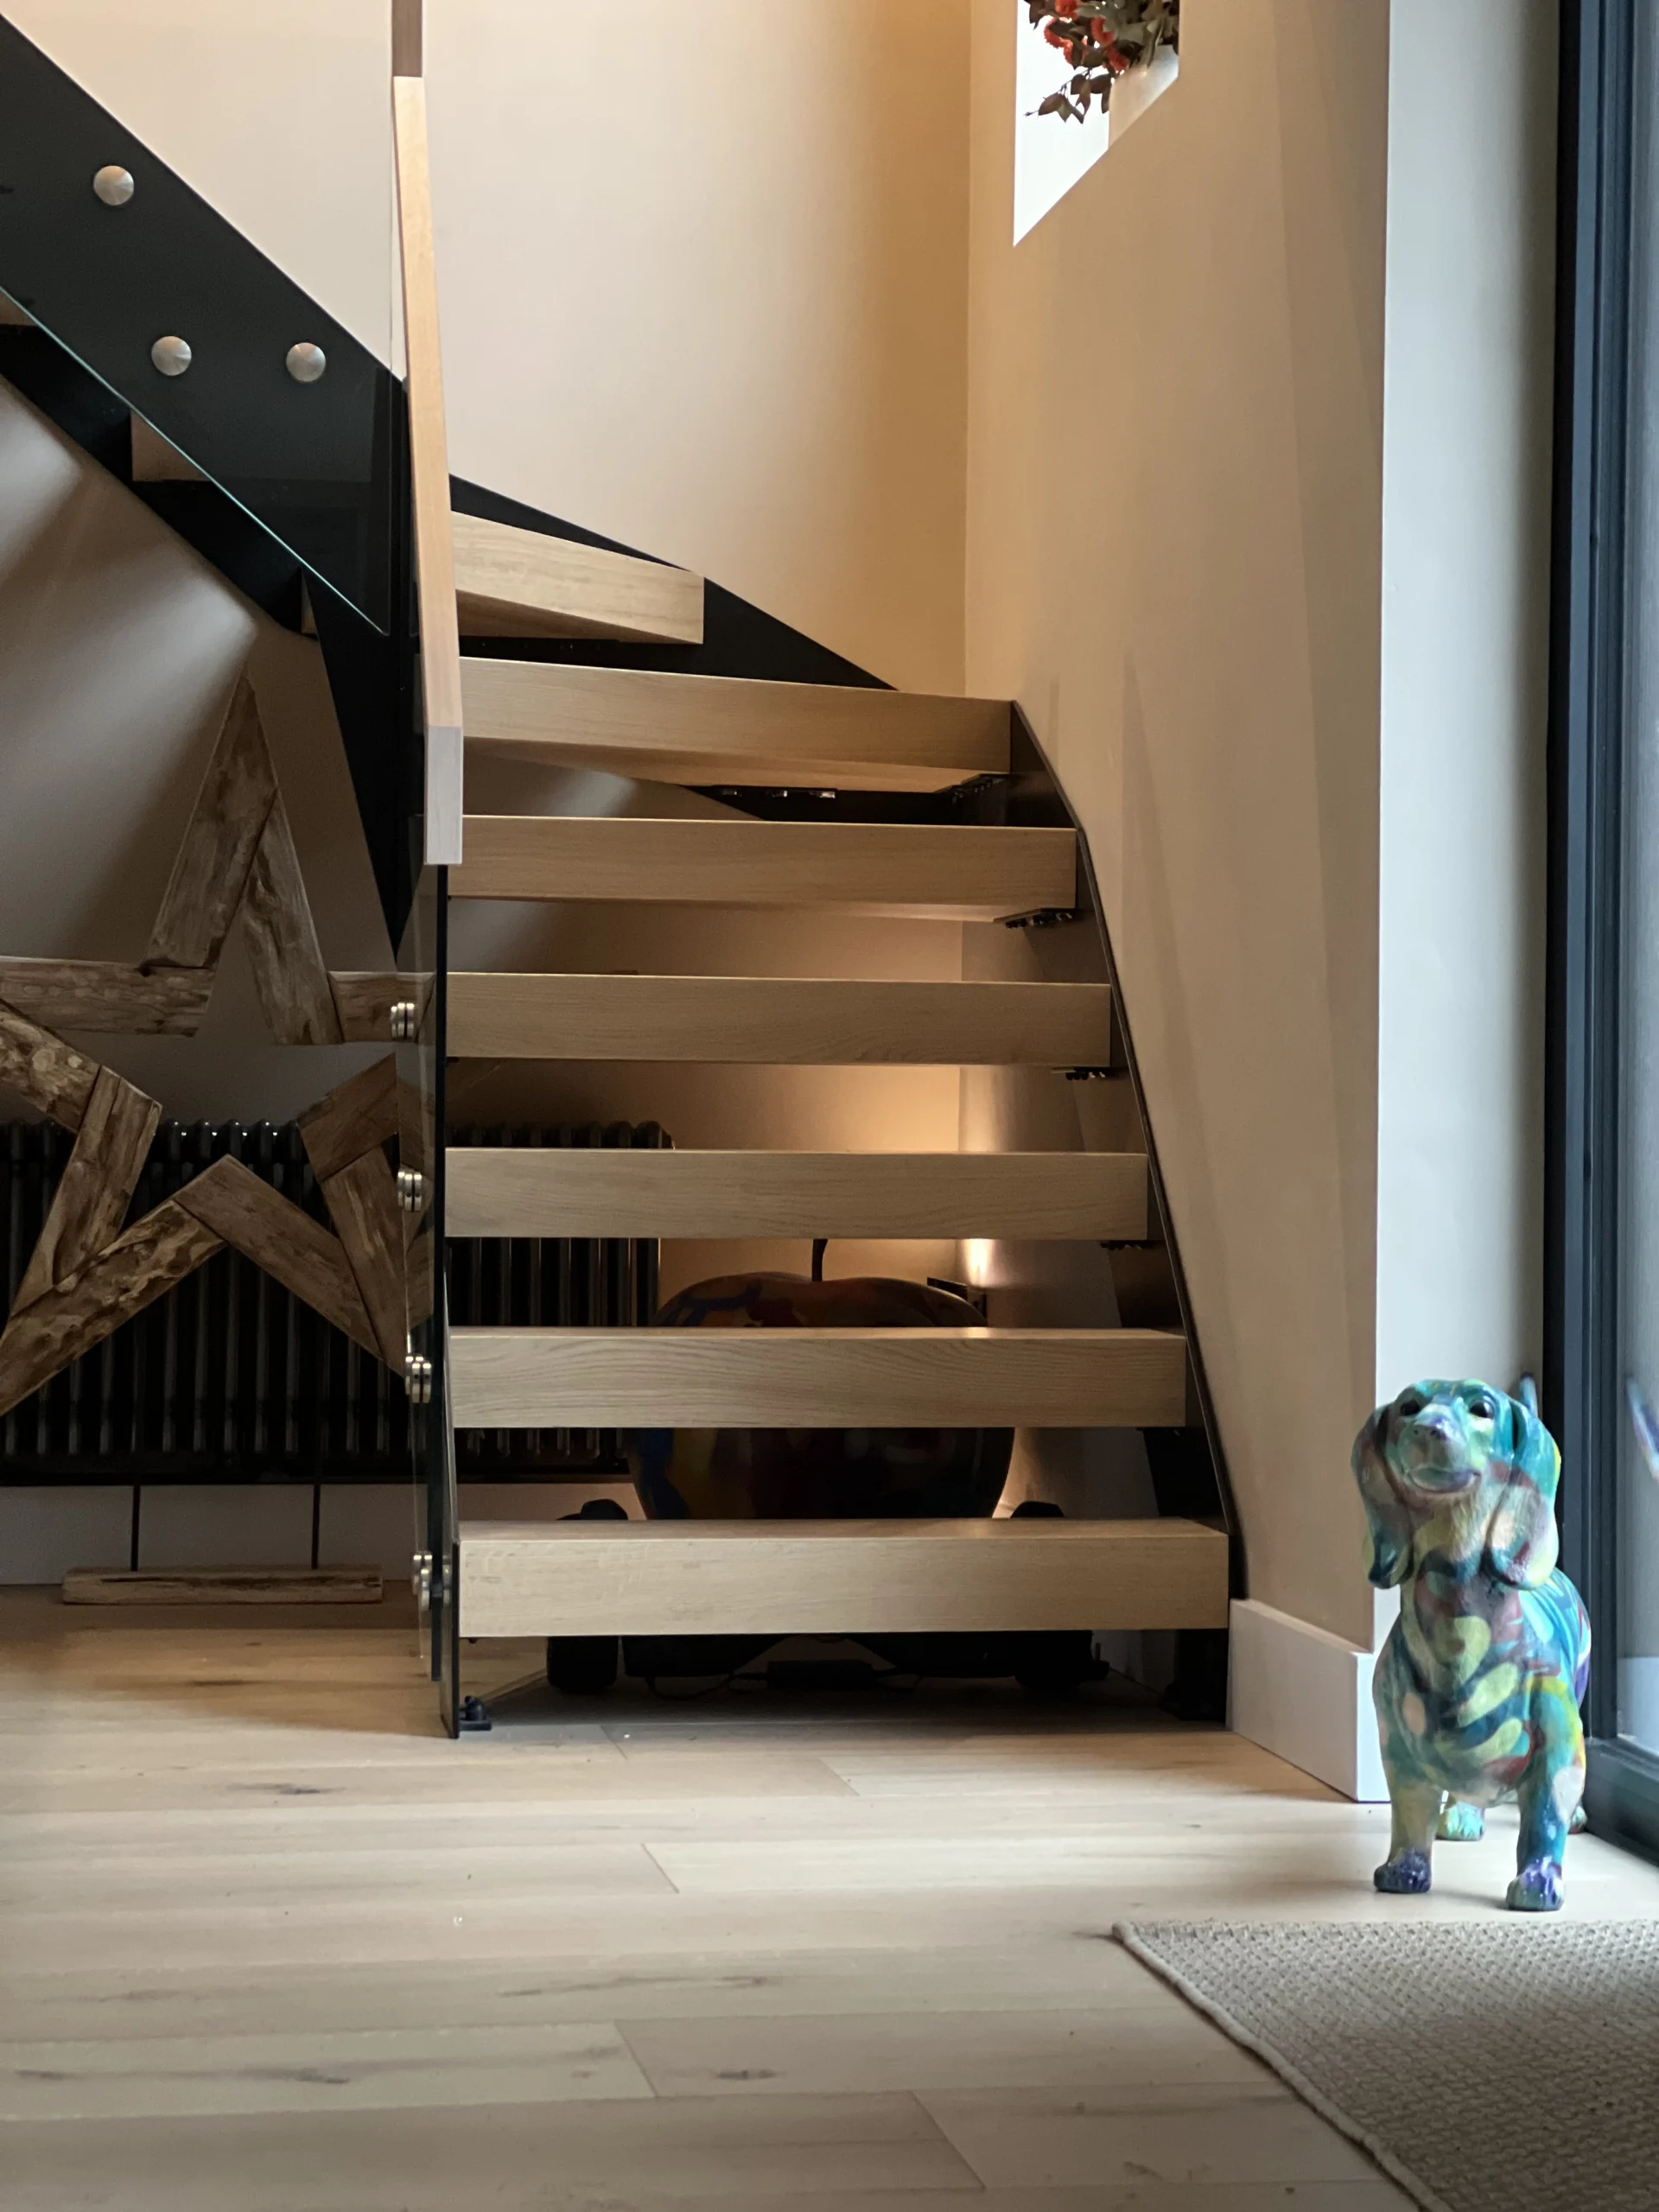
 Detail: point fixing with standoff back plate clearing the cill
Step-by-Step Installation — Side-Fixed Point Fixings
This is the most common installation method for standard French door openings up to 2.0m wide. The process assumes a single glass panel with 4–6 point fixings (2–3 per side).
1 Mark the fixing positions
Hold the glass panel in position (with an assistant — it is heavy) or use the manufacturer's template to mark the fixing positions on the wall. The top of the glass must be at least 1,100mm above the finished floor level. The fixings should be positioned in the centre of the masonry (not on mortar joints, not on edges of bricks or blocks). The fixing centres must match the pre-drilled holes in the glass panel — measure twice, drill once.
2 Drill the fixing holes
Drill into the masonry using an SDS hammer drill with the correct diameter bit for your fixing type (typically 12–16mm for M10–M12 chemical anchors). Drill to the depth specified by the chemical anchor manufacturer — typically 80–100mm into structural masonry. Clean the holes thoroughly using a hole-cleaning brush and compressed air. Chemical anchors fail if the holes contain dust or debris.
3 Install the chemical anchors
Inject the chemical resin cartridge into the drilled holes (typically two-part epoxy or polyester resin). Insert the threaded studs (M10 or M12 stainless steel) into the resin and allow to cure for the time specified by the manufacturer — typically 10–45 minutes depending on temperature. Do not disturb the studs during curing. In cold weather (below 5°C), curing times extend significantly — use a winter-grade resin or defer the installation.
4 Fit the standoff back plates
Thread the standoff back plates onto the cured threaded studs. Tighten to the specified torque. The back plates determine how far the glass stands off from the wall face — choose the thickness that clears the window cill with 5–10mm spare.
5 Hang the glass panel
With an assistant, lift the glass panel and align the pre-drilled holes with the standoff studs. Slide the glass onto the studs. Fit the outer decorative caps (50mm diameter stainless steel discs) and tighten. Apply a rubber washer between the cap and the glass to prevent glass-to-metal contact. Do not overtighten — the cap should be firm but not compressing the glass.
6 Seal and finish
Apply a bead of weather-resistant silicone sealant (clear or colour-matched) around the back plates where they meet the wall face. This prevents rainwater from tracking behind the fixings and into the masonry. If a handrail is specified, fit it to the top edge of the glass using the manufacturer's slotted channel or clamp system.
7 Check and sign off
Measure the height from finished floor level to the top of the glass (or handrail). Confirm it is at least 1,100mm. Apply gentle pressure to the panel to check for any movement — there should be none. Photograph the installation with measurements visible for your records and for Building Control if required.
Common Installation Mistakes — And How to Avoid Them
1 Fixing into the wrong substrate
Fixings into render, insulation, aerated blocks, or mortar joints will fail under load. Always confirm you are drilling into solid brick, dense block, concrete, or structural steel. If in doubt, use a pilot drill to check the substrate before committing to the full-diameter hole.
2 Measuring height from the slab, not finished floor
A 20–30mm screed or floor covering above the slab reduces your glass height by 20–30mm. If the glass is 1,100mm measured from the slab, it is only 1,070–1,080mm from the finished floor — and will fail Building Control inspection.
3 Chemical anchor failure
Dust and debris left in drilled holes prevent the resin from bonding to the masonry. Always clean holes with a wire brush and compressed air. In cold weather, use winter-grade resin and extend the curing time. Never load the fixings before the resin has fully cured.
4 Glass-to-metal contact
Glass must never contact metal directly — the hard surface creates a stress concentration point that can cause the glass to crack (either immediately or over time due to thermal expansion). Always use EPDM rubber gaskets or nylon bushes between the glass and any metal component.
5 Fixing to the door frame instead of the wall
The Juliet balcony fixings must anchor into the structural wall — not into the uPVC, aluminium, or timber door frame. Door frames are not designed to resist the horizontal loads a Juliet balcony must withstand. Some frameless systems are tested and certified for fixing to specific door frame types — but this must be confirmed with the manufacturer's test data, not assumed.
6 No drainage provision
Where the glass sits in a U-channel or base shoe, rainwater can pool in the channel and accelerate corrosion of the fixings or stain the glass. Drainage slots or weep holes in the bottom of the channel prevent this — ensure they are present and unobstructed.
Continox recommendation: While a glass Juliet balcony can be installed by a competent tradesperson, we always recommend using an experienced installer for frameless systems — particularly when working at height. The glass panels are heavy (30–68kg depending on thickness and size), difficult to manoeuvre on scaffolding, and unforgiving of fixing errors. At Continox, our glass balustrade installations are carried out by our own team, with full compliance documentation for Building Control.
Tools and Materials — What You Need
| Item | Specification |
|---|---|
| SDS hammer drill | 12–16mm masonry bits (match anchor diameter) |
| Chemical anchor resin | Two-part epoxy or polyester (e.g., Fischer FIS V, Hilti HIT-HY 200) |
| Threaded studs | M10 or M12 stainless steel (Grade 316 for coastal) |
| Point fixings / standoffs | 50mm diameter head, back plates 10–100mm |
| Spirit level (1,200mm) | For checking horizontal alignment |
| Tape measure (5m) | For measuring height from finished floor level |
| Multi-detector | Cables, pipes, metal detection |
| Hole-cleaning brush + compressed air | For cleaning drilled holes before resin injection |
| Silicone sealant (external grade) | Clear or colour-matched, weather-resistant |
| EPDM rubber gaskets | Between glass and metal at every contact point |
| Suction lifters (pair) | For safely handling and positioning heavy glass panels |
| Scaffolding or access tower | Required for all installations above ground floor |
Building Control Documentation — What to Prepare
If Building Control approval is required (because the Juliet balcony is part of a loft conversion, extension, or new opening), you will need to provide the following documentation.
Glass specification certificate confirming the glass type, thickness, and compliance with BS EN 12150 (toughened) or BS EN 14449 (laminated). Fixing system test certificate showing the system has been tested to resist the required horizontal line load (0.74 kN/m for residential). Structural calculations (if requested by Building Control) confirming the fixings and wall substrate can resist the design loads. Installation photographs showing the completed installation with height measurement visible. Manufacturer's Declaration of Performance or UKCA marking documentation.
Most reputable Juliet balcony manufacturers supply test certificates and structural calculations with their products. If your manufacturer cannot provide these documents, consider whether the product has been adequately tested. For the full regulatory framework, see our UK staircase and balustrade regulations guide.
Maintenance After Installation — What to Check and When
A properly installed glass Juliet balcony requires minimal ongoing maintenance — but "minimal" is not "zero."
Every 3–6 months, clean the glass with warm water and a non-abrasive glass cleaner. Hard water deposits and environmental grime reduce transparency — particularly on south and west-facing elevations that are exposed to rain and wind-driven dirt. Once a year, check all fixings for tightness by applying gentle hand pressure to the glass panel. Any movement indicates a fixing that needs investigation. Inspect the silicone sealant around the fixings and channels for cracking, shrinkage, or separation — re-apply if the seal has failed. In coastal locations (within 5 miles of the sea), clean stainless steel fixings with a stainless steel cleaner to remove salt deposits. Grade 316 stainless steel is recommended for coastal installations — Grade 304 will pit and discolour in salt air. Check U-channel drainage slots are clear of debris — leaves and moss can block weep holes over time.
For more on glass balustrade products suitable for Juliet balconies, staircases, and landings, or for balcony railing options, see our product pages.
Frequently Asked Questions — Glass Juliet Balcony Installation
A standard glass Juliet balcony takes 2–4 hours to install for an experienced tradesperson. This includes marking out, drilling, fixing, hanging the glass, and sealing. Allow additional time for chemical anchor curing (10–45 minutes depending on product and temperature). The total on-site time from arrival to completion is typically half a day.
A competent DIYer with experience of masonry fixing and working at height can install a framed Juliet balcony system. Frameless systems with heavy laminated glass panels (55–68kg) are significantly more challenging and are best left to professionals. The glass is heavy, difficult to manoeuvre on scaffolding, and any error in fixing positions cannot be corrected once the glass is drilled. If in doubt, use an experienced installer.
M10 or M12 stainless steel threaded studs with chemical anchor resin (two-part epoxy or polyester) into structural masonry. Grade 316 stainless steel for coastal locations. The fixings must anchor into solid brick, dense block, concrete, or structural steel — not into render, insulation, mortar joints, or aerated blocks. Most manufacturers supply the point fixings but not the chemical anchors or masonry fixings — you purchase these separately to suit your specific wall construction.
For framed systems (with top and bottom rail): 10mm toughened glass. For base-fixed point fixings: 12–15mm toughened. For frameless side-fixed systems: 17.5mm toughened laminated (panels up to 1.7m wide) or 21.5mm toughened laminated (panels over 1.7m wide). Laminated glass is strongly recommended for any frameless system because it remains in place if broken, maintaining fall protection.
Some frameless systems (such as Glide Fit and Skyforce) are specifically tested and certified for fixing to uPVC or aluminium door frames. However, this must be confirmed with the manufacturer's test data — not assumed. Standard point fixings and chemical anchors are designed for masonry, not frame materials. If your only fixing option is the door frame, use a system with specific frame-fixing certification.
Use standoff back plates on the point fixings. These are available in thicknesses from 10mm to 100mm — choose a thickness that positions the glass 5–10mm clear of the cill projection. Most UK window cills project 25–45mm from the wall face, so a 30–50mm back plate is typically sufficient. The standoff back plates are supplied by the fixing manufacturer as part of the system.
For side-fixed systems: approximately 2.0–2.2m with a single panel. For base-fixed point fixings: up to 3.5–4.0m using multiple panels (each panel maximum 1.4m wide). For frameless U-channel systems fixed to steel or concrete: up to 3.0m with a single panel. For wider openings (such as bi-fold doors), a base-fixed multi-panel system or a post-supported railing system is required.
Building Control approval is required if the Juliet balcony forms part of wider building work (loft conversion, extension, new opening). For like-for-like replacements with no structural alteration, Building Control may not be required — but the installation must still comply with Part K (1,100mm height, 100mm sphere rule, safety glass, adequate fixings). Always check with your local Building Control office. Provide glass certificates, fixing test data, and height measurement photographs for the sign-off inspection.
Need a Glass Juliet Balcony Installed Properly?
Continox supplies and installs bespoke glass Juliet balconies — frameless, with steel handrail, or fully custom. Part K compliant, precision-engineered, installed by our own team with full Building Control documentation. Based in Gosport, Hampshire.